Healthy Homemade Butterfingers: A Guilt-Free Indulgence
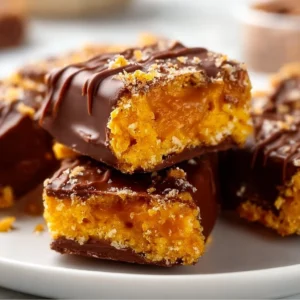
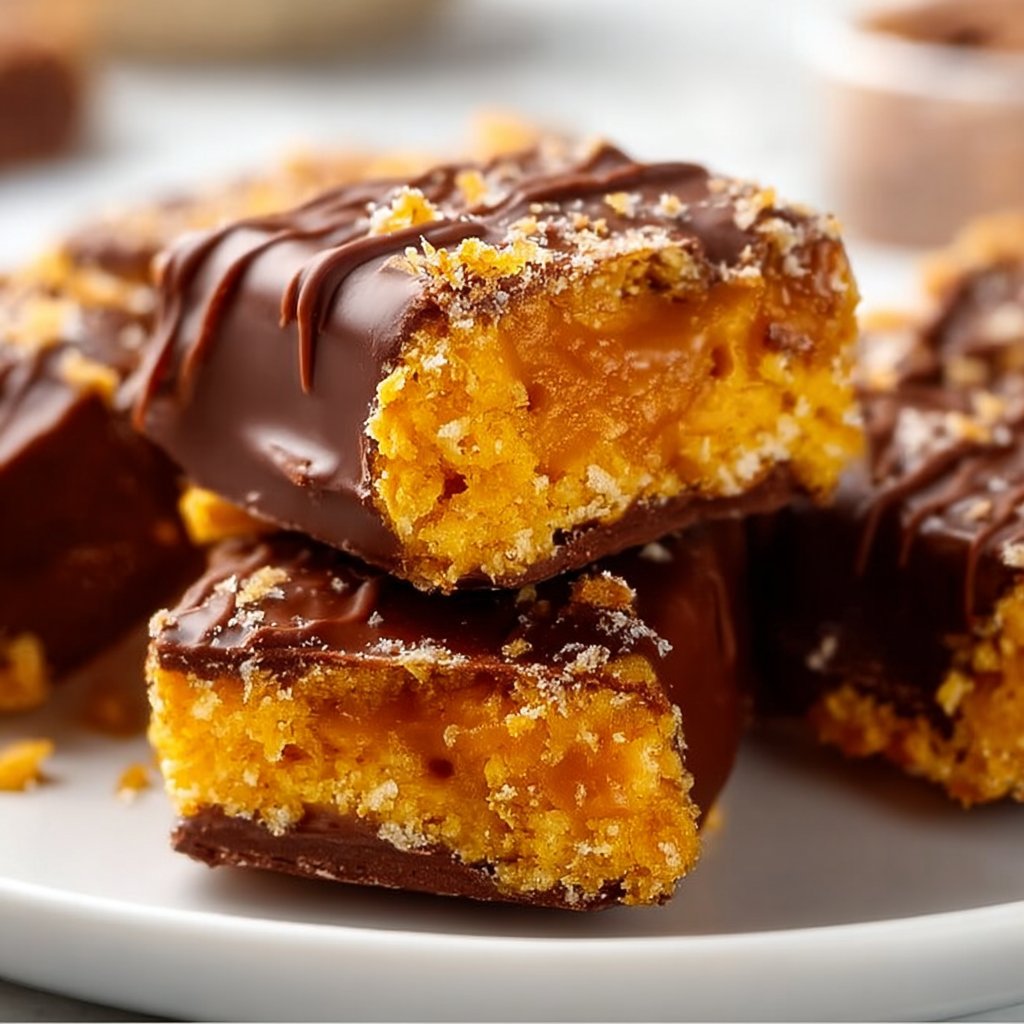
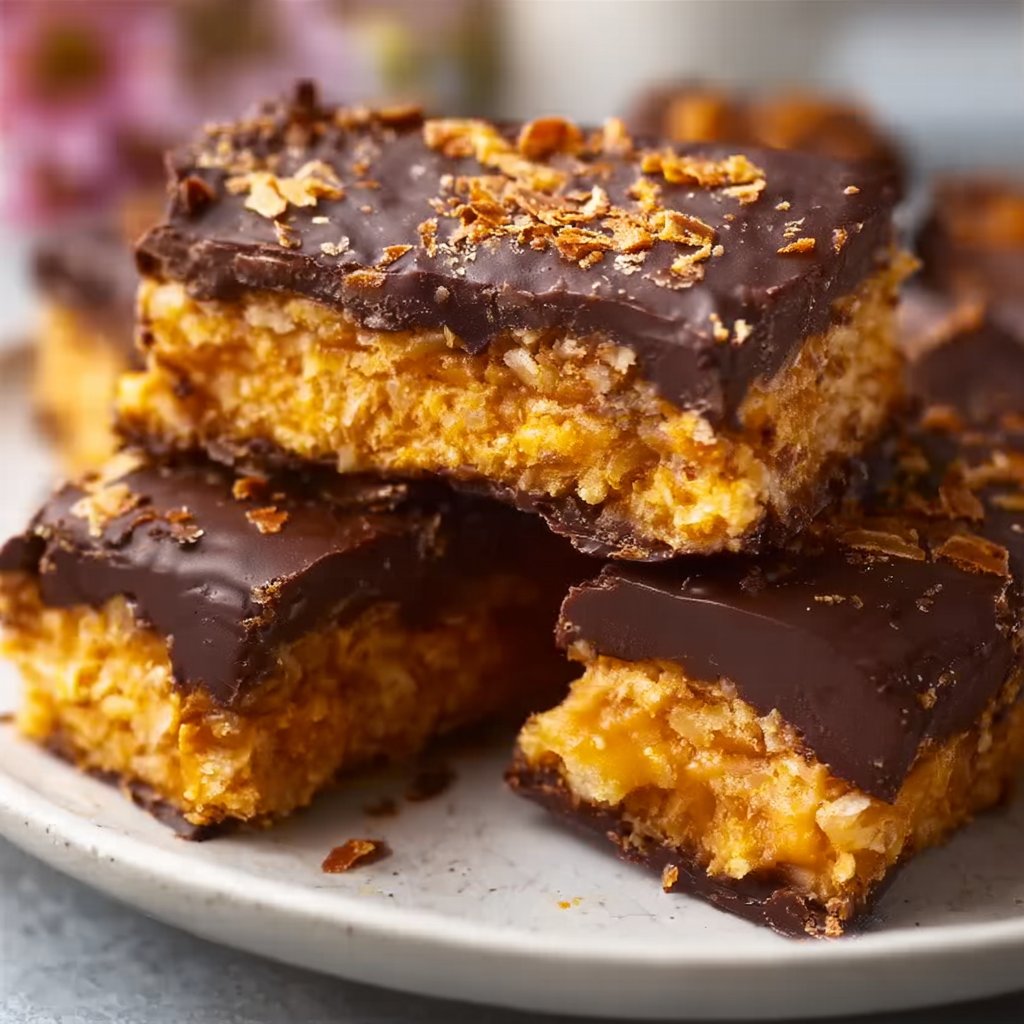
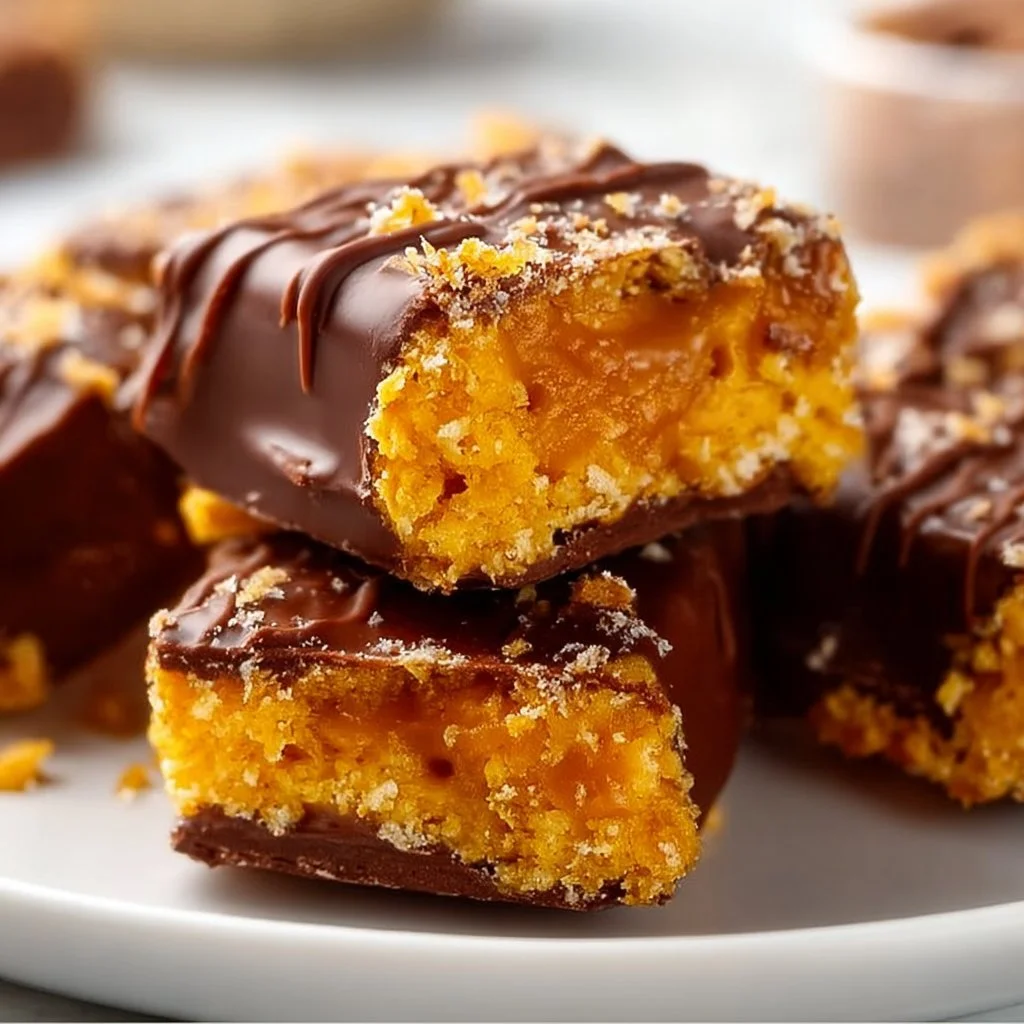
If there’s one candy that invokes a wave of nostalgia, it’s Butterfingers. The crispy, crunchy peanut butter center coated in a chocolate shell is an irresistible combination that many of us enjoyed as kids. I still remember the thrill of finding them in my Halloween stash! But what if I told you that you can recreate this delight in a healthier version, free from refined sugars and artificial ingredients? It’s true! Let’s whip up some homemade Butterfingers that are not just delicious but also nutritious. You may also find Homemade Spinach Tortillas Healthy Flavorful Fun To Make useful.
What Makes This Recipe Special?
This recipe stands out because it captures the classic Butterfinger flavor while keeping it wholesome. By using natural ingredients and putting a spin on the traditional process, you’ll end up with a treat that’s not only lower in sugar but also packed with peanuty goodness. Plus, I’ve incorporated a fun twist that will make this treat enjoyable for the whole family! You may also find 25 Best Healthy Smoothies useful.
Ingredients
Here’s what you’ll need to make these delightful treats:
- 1 cup peanut butter (creamy or crunchy)
- 1 cup powdered coconut sugar (or any sweetener of choice)
- 1 teaspoon vanilla extract
- 1/4 cup coconut flour
- 1 cup dark chocolate chips (vegan if desired)
- 1 tablespoon coconut oil
Feel free to substitute almond butter for a different flavor or use agave syrup instead of coconut sugar.
Directions
To start crafting your homemade Butterfingers, combine the peanut butter, powdered coconut sugar, and vanilla extract in a mixing bowl. The mixture will become smooth and slightly fluffy.
Next, gently fold in the coconut flour until you achieve a dough-like consistency. This mixture should be easily moldable without being too sticky. It’s important to avoid overmixing here!
Spread the mixture into a lined baking pan, pressing it down evenly. Aim for a thickness of about half an inch. Place the pan in the refrigerator for about 30 minutes to firm up.
While your base is chilling, melt the chocolate chips and coconut oil in a saucepan over low heat, stirring until smooth. Once the base has set, remove it from the fridge and cut it into rectangular bars, resembling traditional Butterfinger shapes.
Dip each bar into the melted chocolate, making sure to coat every part thoroughly. Set them on a parchment-lined tray and chill again until the chocolate hardens.
Serving Suggestions
These homemade Butterfingers pair wonderfully with a tall glass of almond milk or your favorite smoothie. They also make a great addition to a party platter, offering a healthier alternative to store-bought candies. For a fun gathering, try cutting them into bite-sized pieces and arranging them on a colorful dessert tray.
Tips or Variations
Feel free to experiment with flavors! You could add a pinch of sea salt to the chocolate for a sweet and salty combo or fold in some chopped nuts for added texture. If you’re looking for a vegan option, ensure your chocolate is dairy-free and swap the coconut sugar with maple syrup for a more natural sweetness.
Q&A Section
1. Can I use a different nut butter?
Absolutely! Almond butter or cashew butter can work wonderfully in this recipe. Just keep in mind that each nut butter has its own flavor profile, which will slightly alter the taste of the final product.
2. How long will these Butterfingers last?
When stored in an airtight container in the fridge, they should last for about two weeks. You can also freeze them for longer storage; just make sure to separate the bars with parchment paper to prevent sticking.
3. Are these gluten-free?
Yes! These homemade Butterfingers are gluten-free as long as you ensure that the chocolate you use is free from gluten.
4. Can I make a larger batch?
Definitely! Just double the ingredients and use a larger baking dish to accommodate the extra mixture.
Behind the Scenes
When I first decided to tackle this recipe, I went through several iterations before I landed on the perfect balance of flavors. Initially, I struggled with the right consistency, but after adjusting the amount of coconut flour, I finally got that satisfying crunch combined with creamy peanut butter. What a joy it was to finally taste success!
Final Thoughts
Making healthy homemade Butterfingers is not just a fun kitchen project; it’s also a testament to what you can create with a few nutritious ingredients. Whether you’re treating yourself or sharing with loved ones, these bars are bound to become a favorite. Serve them as a sweet end to a dinner or as a satisfying snack during the day.
Conclusion
Creating healthier versions of beloved treats is completely possible with a little creativity and the right ingredients. You can find more recipes that are healthy yet indulgent by exploring this guide to Healthy Homemade Butterfingers or check out these gluten-free options for Butterfinger Bars.
Can’t wait for you to try this recipe! Let me know how yours turns out!
Healthy Homemade Butterfingers
Ingredients
Method
- In a mixing bowl, combine the peanut butter, powdered coconut sugar, and vanilla extract to create a smooth, slightly fluffy mixture.
- Gently fold in the coconut flour until you achieve a dough-like consistency, ensuring not to overmix.
- Spread the mixture evenly into a lined baking pan, aiming for a thickness of about half an inch.
- Refrigerate the pan for approximately 30 minutes to firm up the base.
- While the base is chilling, melt the chocolate chips and coconut oil in a saucepan over low heat, stirring until smooth.
- Once the base has set, remove it from the fridge and cut it into rectangular bars.
- Dip each bar into the melted chocolate, ensuring a thorough coat.
- Place the chocolate-coated bars on a parchment-lined tray and chill again until the chocolate hardens.