Indulging in Oreo Cheesecake Bliss
There’s something deeply comforting about a classic cheesecake, especially when it’s made with those beloved Oreo cookies. Reminiscing about the sweet gatherings at family parties, me and my cousins used to devour every last crumb. This Oreo cheesecake recipe captures that nostalgic flavor and transforms it into a delightful dessert fit for any occasion.
What truly sets this recipe apart is its rich, creamy texture combined with the crunch of Oreo crust. Plus, it’s incredibly easy to whip up, making it a perfect go-to for both seasoned bakers and those just starting their culinary adventures. You can even explore options like these Oreo cheesecake bites to share the joy in smaller portions!
Ingredients You’ll Need
Before we dive into the deliciousness, let’s gather our ingredients. Here’s what you’ll need:
- 24 Oreo cookies (for the crust)
- 4 tablespoons unsalted butter, melted
- 2 (8-ounce) packages cream cheese, softened
- 1 cup powdered sugar
- 1 teaspoon vanilla extract
- 1 cup heavy whipping cream
- 12 Oreo cookies, crushed for the filling and topping
- Optional: extra mini Oreos for garnish
It’s Time to Create
Alright, let’s put on our aprons and get started. The process is quite simple, but there are a few key steps to ensure your cheesecake turns out perfect.
First, preheat your oven to 325°F (160°C). Grab your 9-inch springform pan and make the crust by crushing the 24 Oreos into fine crumbs; a food processor works magic here! Mix the crumbs with the melted butter until they are well-combined. Press the mixture firmly into the bottom of the springform pan to form a nice, even crust. Bake it for about 10 minutes, then allow it to cool.
While the crust cools, let’s prepare the cheesecake filling. In a mixing bowl, beat the softened cream cheese until it’s smooth and creamy. Gradually add the powdered sugar, mixing until fully incorporated. Add the vanilla extract and mix again.
In a separate bowl, whip the heavy cream until stiff peaks form. Gently fold the whipped cream into the cream cheese mixture, combining until it’s light and fluffy. Finally, gently fold in the 12 crushed Oreo cookies, ensuring even distribution.
Once your crust is cool, pour the cheesecake filling over it, smoothing the top with a spatula. You’d want to chill this beauty in the refrigerator for at least 4 hours, but overnight is best.
Perfect Pairings for Your Cheesecake
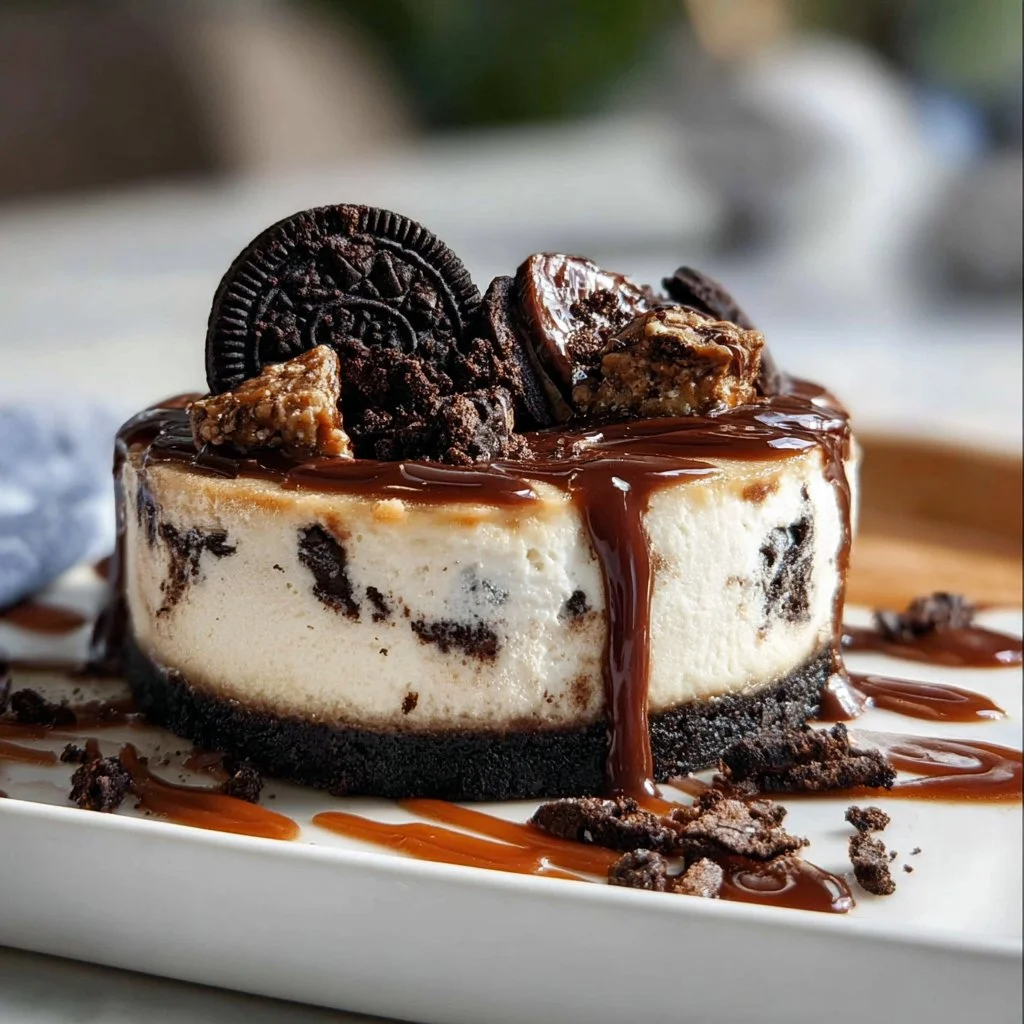
Serving suggestions for this Oreo cheesecake are endless! You can enjoy it as is for a rich dessert, or try drizzling chocolate or caramel sauce over the top before serving. A dollop of whipped cream alongside a sprinkle of crushed Oreos adds an elegant touch.
When it comes to drinks, a glass of cold milk is a classic pairing, but you might also opt for a scoop of vanilla ice cream on the side for an extra indulgent treat.
Tips for a Fun Twist
Looking to innovate? Here are some fun variations you can try out! You could swap regular Oreos for peanut butter or mint-flavored Oreos to give it a unique twist. For a vegan option, consider using plant-based cream cheese and coconut cream instead of heavy cream.
If you’re short on time, try making a no-bake version which simplifies the process even further and still delivers that delicious Oreo flavor you crave!
Questions You Might Have
1. Can I make this cheesecake ahead of time?
Absolutely! This cheesecake actually tastes even better the next day after it has time to cool and set. Just store it in the fridge.
2. Can I freeze leftover cheesecake?
Yes, you can! Wrap individual slices in plastic wrap and store them in an airtight container. They can last up to 2 months in the freezer.
3. How can I tell when my cheesecake is set?
When the edges are firm and the center still has a slight jiggle, it’s ready to be taken out of the fridge. It will firm up further as it chills.
4. What if I don’t have a springform pan?
You can use a regular 9-inch pan, but make sure to line it with parchment paper for easier removal.
Behind The Scenes
Creating this Oreo cheesecake was a delightful journey! The first attempt resulted in a filling that didn’t set well due to my eagerness to taste it too soon. After a few tweaks and more patience, I found the perfect balance of creaminess and sweetness. The joy of sharing it with friends during a cozy dinner made the effort totally worthwhile!
Final Thoughts
This Oreo cheesecake is a delightful dessert that’s perfect for any gathering or just a special treat for yourself. It’s rich, creamy, and full of that familiar Oreo flavor that makes for a wonderful dessert moment. Pair it with some fresh fruit or even serve it at a birthday party to make the occasion extra special.
Conclusion
In summary, making an Oreo cheesecake can be a simple and gratifying experience. Experiment with different recipes to find your favorite version, like this delicious Oreo cheesecake or consider a no-bake Oreo cheesecake recipe for a quick and easy option. Enjoy every creamy, crunchy bite, and let me know how your baking adventure turns out!
Oreo Cheesecake
Ingredients
Method
- Preheat your oven to 325°F (160°C).
- In a food processor, crush the 24 Oreos into fine crumbs.
- Mix the crumbs with the melted butter until well-combined.
- Press the mixture firmly into the bottom of a 9-inch springform pan to form an even crust.
- Bake the crust for about 10 minutes, then allow it to cool.
- In a mixing bowl, beat the softened cream cheese until smooth and creamy.
- Gradually add the powdered sugar, mixing until fully incorporated.
- Add the vanilla extract and mix again.
- In a separate bowl, whip the heavy cream until stiff peaks form.
- Gently fold the whipped cream into the cream cheese mixture until light and fluffy.
- Fold in the 12 crushed Oreo cookies, ensuring even distribution.
- Once the crust is cool, pour the cheesecake filling over it and smooth the top with a spatula.
- Chill the cheesecake in the refrigerator for at least 4 hours, but overnight is best.


