Crispy Baked Canned Tuna Fish Sticks for a Family Feast
There’s something about family dinners that just warms the soul. It takes me back to lazy Sundays at my grandparents’ house, where the kitchen always buzzed with laughter, the aroma of delicious food wafted through the air, and we gathered around the table to enjoy hearty meals together. When I’m looking to evoke that same sense of connection and comfort, I turn to my Crispy Baked Canned Tuna Fish Sticks. Not only are they a fun twist on everyone’s classic favorite, but they also bring back those cherished memories with every crispy bite.
What makes these fish sticks special is their balance of texture and flavor—crispy on the outside, tender and flaky on the inside. Plus, they come together in no time, making them a perfect option for busy weeknights. The trick? Using canned tuna as the base! It not only saves time but also offers a wonderfully savory flavor. Served with a side of dipping sauce, this dish is bound to become a family favorite.
Ingredients
- 2 cans of tuna in water, drained (check for low-sodium options if preferred)
- 1 large egg
- 1 cup breadcrumbs (Panko works best for extra crunch!)
- ½ cup all-purpose flour (or a gluten-free alternative)
- 1 teaspoon garlic powder
- 1 teaspoon onion powder
- ½ teaspoon paprika
- Salt and pepper to taste
- Olive oil spray or a drizzle of olive oil
- Optional: Lemon wedges and tartar sauce for serving
Preparing the Tuna Fish Sticks
First things first, preheat your oven to 425°F (220°C)—that way, we’ll have a hot and crispy finish in no time. Next, grab a mixing bowl and combine the drained tuna with the egg. While it may seem a little unconventional, the egg acts as the binder to hold everything together.
Once mixed well, add the garlic powder, onion powder, paprika, salt, and pepper. You really can adjust these spices to your preference; some like it more garlicky, others more peppery, so feel free to tweak as you wish! After that, it’s time to stir in ½ cup of breadcrumbs. This is where the magic happens—mix until well combined, and then refrigerate for about 15 minutes. This helps the mixture firm up a bit, making it easier to shape into sticks.
Meanwhile, set up your breading station: place the flour and remaining breadcrumbs on two separate plates. You’ll want to set up an assembly line for efficiency. Take your chilled tuna mix and form it into uniform sticks; about 2-3 inches long is perfect! Dip each stick in flour first, then coat it with egg before rolling it in breadcrumbs. Make sure to give it a gentle press to enhance that crispy crust.
As you coat the sticks, place them on a baking sheet lined with parchment paper. Don’t forget to spray or drizzle them lightly with olive oil for that golden crunch. Now, slide the baking sheet into your preheated oven and bake for about 15-20 minutes, flipping halfway through until they’re beautifully browned and crispy.
Serving Suggestions for the Whole Family
For Kids: I love serving these fish sticks with a colorful platter of carrot sticks, cucumber slices, and a little bowl of their favorite dipping sauce. Serve them alongside a fun, creamy tartar sauce or even a bit of ranch dressing for a finger-friendly feast.
For Adults: Elevate the dish with a fresh arugula salad tossed in a light lemon vinaigrette. The peppery greens are a delightful contrast to the crispy fish sticks. A glass of chilled white wine pairs exceptionally well, making this a truly inviting dinner spread.
Tips and Variations
You can easily switch up the flavor profile of these fish sticks by adding different herbs or spices. For those who love a kick, toss in some cayenne pepper or chili flakes into the mix! If you’re seeking a vegan option, replace tuna with mashed chickpeas or cooked quinoa and use a flax egg instead of a regular egg (mix 1 tablespoon of flaxseed meal with 2.5 tablespoons of water and let it sit for 5 minutes).
Prep shortcuts? Just use pre-made breadcrumbs or even crushed cornflakes if you want a unique crunch! And if you have any leftover sticks, they freeze well—just pop them in an airtight container and reheat straight from frozen in the oven!
Q&A Section
Can I use fresh tuna instead of canned?
Absolutely! You can use fresh tuna; just make sure to cook it thoroughly before mixing it in.
What if I don’t have breadcrumbs?
If breadcrumbs are not on hand, crushed crackers or even ground oats can work as an alternative!
How do I store leftovers?
Allow the fish sticks to cool completely before storing them in an airtight container in the fridge. They should be good for 2-3 days.
Can I bake them in the air fryer?
Yes, you can! Just preheat the air fryer and cook them at 400°F for about 10-12 minutes, flipping halfway through.
Behind The Scenes
Creating this recipe was a family labor of love—after experimenting a few times, I found the perfect balance of spices and textures that remind me of my childhood fish stick experiences. The first round was a bit too soggy, and I learned quickly that a thicker breadcrumb coating yields that desired crisp. It felt fantastic to finally nail it, bringing joy to my table along with a touch of nostalgia.
Conclusion
Crispy Baked Canned Tuna Fish Sticks are not just a hit with my family; they embody the warmth and love that come from sharing a meal together. I encourage you to dive in and create your own memories with this easy and delicious recipe. For more inspiration, check out Homemade Crispy Baked Fish Sticks and discover a world of family-friendly cooking with this resource!
With the aroma of these tasty treats filling your kitchen, your family feast is sure to be a smashing success. Can’t wait for you to try it!
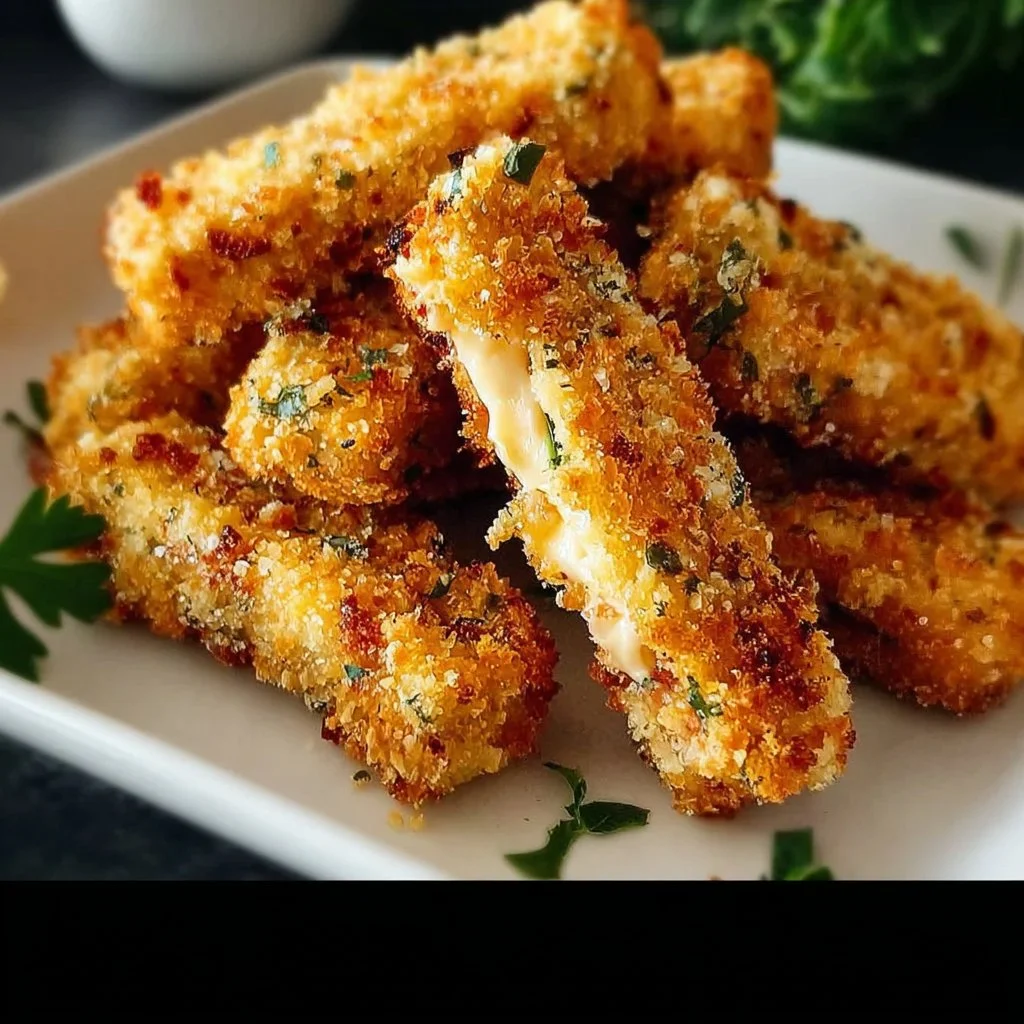
Crispy Baked Canned Tuna Fish Sticks
Ingredients
Method
- Preheat your oven to 425°F (220°C).
- In a mixing bowl, combine the drained tuna with the egg.
- Add garlic powder, onion powder, paprika, salt, and pepper to the mixture.
- Stir in ½ cup of breadcrumbs until well combined.
- Refrigerate the mixture for about 15 minutes.
- Set up your breading station with flour and remaining breadcrumbs on two separate plates.
- Shape the chilled tuna mixture into uniform sticks, about 2-3 inches long.
- Dip each stick in flour, then coat it with egg before rolling it in breadcrumbs.
- Place the coated sticks on a baking sheet lined with parchment paper.
- Spray or drizzle lightly with olive oil.
- Bake in the preheated oven for 15-20 minutes, flipping halfway through.


