Decadent Mini Cream Pie Cups
There’s something nostalgic about mini desserts. As a kid, I remember sneaking into the kitchen and snagging a bite of leftover cream pie after family gatherings. These little pleasures were always a sweet end to our post-dinner chatter. Fast forward a couple of decades, and I find myself recreating those delightful moments, celebrating the magic of simplicity and flavor in these Decadent Mini Cream Pie Cups. They are the perfect bite-sized treat to enjoy anytime, and trust me, they’ll take you right back to those warm gatherings.
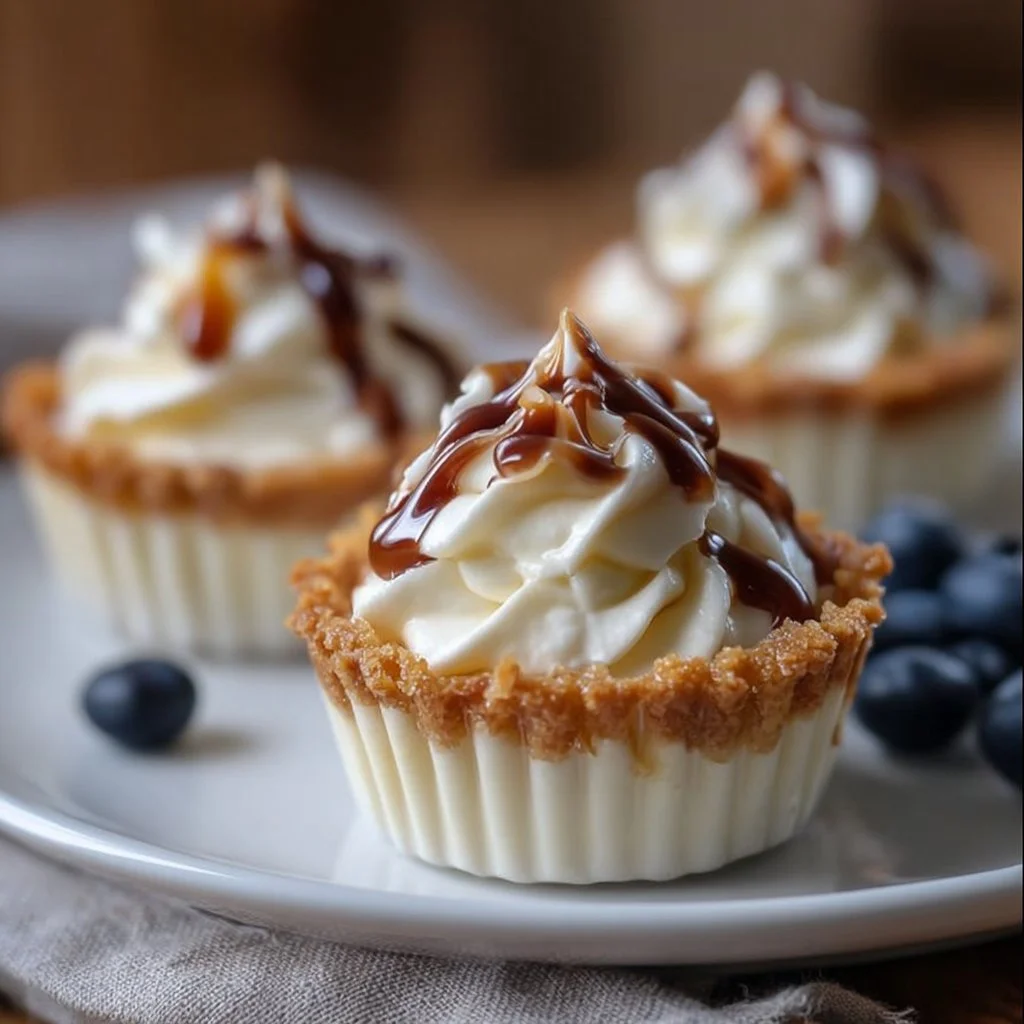
What makes these mini cream pie cups truly special is their delightful combination of textures and flavors — a buttery crust meets luscious, velvety filling, all topped with fluffy whipped cream. Plus, they come together effortlessly, making them a perfect choice for both special occasions and everyday cravings. You’ll be amazed at how these tiny cups can pack such a delicious punch!

Ingredients
-
For the crust:
- 1 ½ cups graham cracker crumbs (or crushed digestive biscuits)
- ½ cup unsweetened cocoa powder (for a chocolate twist)
- ½ cup melted butter
- ¼ cup sugar
-
For the filling:
- 1 cup heavy cream
- 1 cup sweetened condensed milk
- 1 teaspoon vanilla extract
- 1 tablespoon lemon juice (optional for a tart touch)
-
For topping:
- Whipped cream (store-bought or homemade)
- Chocolate shavings or fruit for garnish (optional)
Feel free to use gluten-free crackers or dairy alternatives to cater to different dietary preferences.
Instructions
Start by preheating your oven to 350°F (175°C). While it’s warming up, mix together the graham cracker crumbs, cocoa powder (if using), melted butter, and sugar in a bowl until it resembles damp sand. The mixture should hold together when squeezed in your hand.
Now, take this mixture and press it firmly into the bottom of a muffin tin to create little cups. I like using a measuring cup to get an even base, making sure to go up the sides a bit, too. Bake these for about 8 minutes, then let them cool completely; this step ensures a nice crispiness that perfectly contrasts the creamy filling we’re about to prepare.
Next, in a separate bowl, whip the heavy cream until soft peaks form. You can use an electric mixer for quicker results or a whisk for a bit of a workout! Gradually fold in the sweetened condensed milk, vanilla extract, and lemon juice if you chose to add that tang. Be gentle here; you want to incorporate everything without losing that airy texture.
Once the filling is ready, spoon or pipe it into your cooled crusts. You can be as creative as you like with the presentation. After that, top each mini cup with a generous dollop of whipped cream. For an extra special touch, sprinkle some chocolate shavings or fresh fruit on top for added flavor and a beautiful finish.
Serving Suggestions
These mini cream pie cups are delightful served immediately after assembly, but they also benefit from chilling in the fridge for an hour. Serving them chilled enhances the flavors and provides a refreshing treat. They’re perfect for backyard barbecues, birthday parties, or just as an evening indulgence while watching your favorite show.
For a fun variation, try mixing flavors; perhaps add a hint of coconut to the filling for a tropical twist, or use a fruit-flavored whipped topping to complement the pie cups.
Tips and Variations
If you want to shake things up, consider these variations:
- Flavor Infusions: Try different flavored extracts like almond or coconut in your filling.
- Vegan Adjustments: Use coconut cream in place of heavy cream and a sweet vegan condensed milk substitute for a delicious vegan option. You can find a great recipe for vegan dark chocolate coconut pies at Making Thyme for Health.
- Shortcut: Use store-bought pie crusts or graham cracker crusts to save time.
- Seasonal Touches: Consider adding in flavors like pumpkin or peppermint for a seasonal twist during holidays.
Q&A Section
Q1: Can I make the pie cups ahead of time?
Absolutely! You can prepare the crust and filling a day in advance. Just assemble them a few hours before serving for the best experience.
Q2: How long do leftovers last?
If you have any leftover mini cream pie cups (which is rare!), store them in an airtight container in the fridge for up to three days.
Q3: Can I freeze these mini cups?
Yes, but for the best texture, freeze the crusts separately and add the filling fresh when you’re ready to serve.
Q4: Can I modify the topping?
Yes! Feel free to experiment with different toppings like fresh berries, chocolate ganache, or even a drizzle of caramel for extra flair!
Behind The Scenes
When developing this recipe, I wanted something that felt like a warm hug yet was quick enough for anyone to whip up on a whim. I played around with different crust options, ultimately landing on the classic graham cracker for its ease and taste. One particularly messy attempt had me whisking too aggressively, sending whipped cream flying — the kitchen looked like a cream pie exploded! It was a hilarious reminder that cooking is as much about the journey as it is about the destination.
Conclusion
These Decadent Mini Cream Pie Cups are a delightful way to revisit childhood memories or create new ones. They’re so versatile, making them suitable for any gathering or just a sweet treat for yourself. They’re even perfect as a dessert option for those with dietary restrictions—just think of all the possibilities!
If you’re craving more creative pie ideas, check out this delicious Boston Cream Pie Cupcakes Recipe. And remember, food is best enjoyed when shared, so gather your loved ones and enjoy these delightful treats together.
Can’t wait for you to try it!
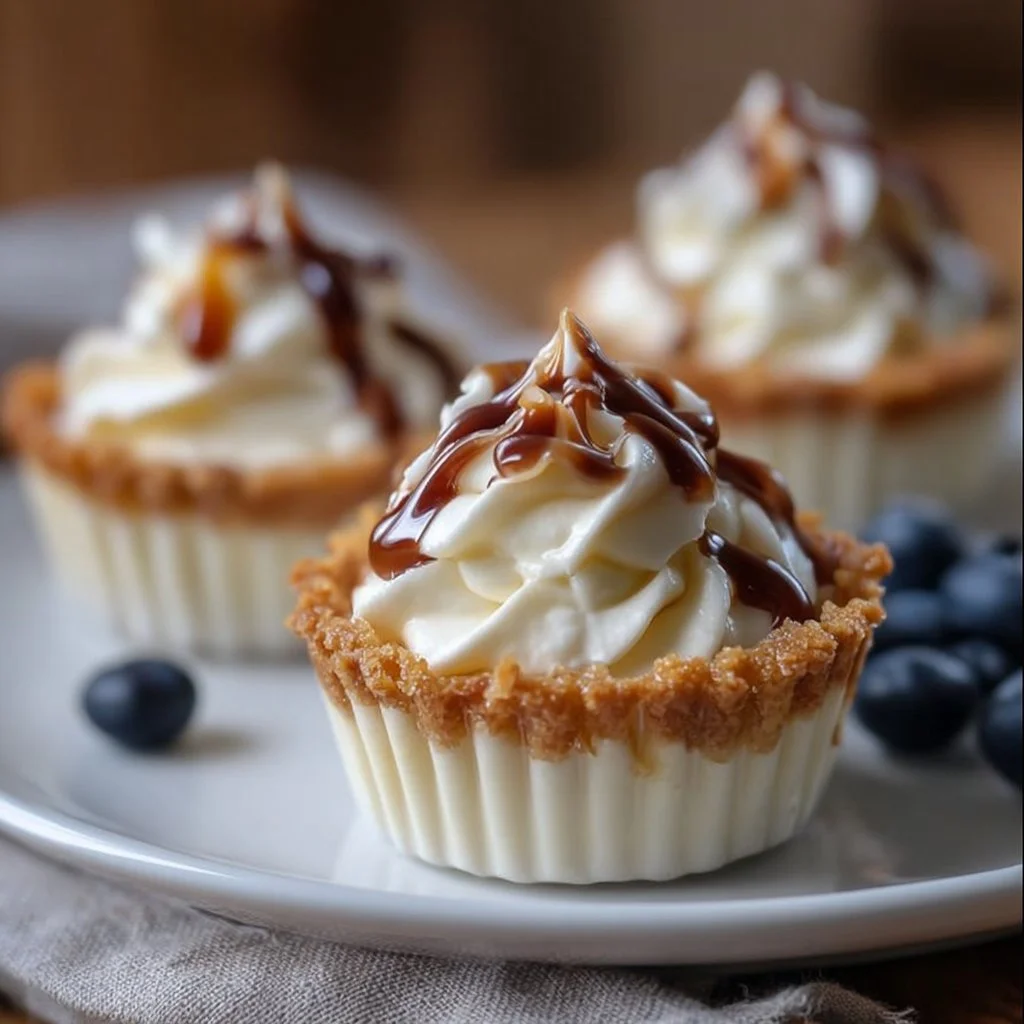
Decadent Mini Cream Pie Cups
Ingredients
Method
- Preheat your oven to 350°F (175°C).
- Mix together the graham cracker crumbs, cocoa powder (if using), melted butter, and sugar until it resembles damp sand.
- Press the mixture firmly into the bottom of a muffin tin to create mini cups.
- Bake these for about 8 minutes, then let them cool completely.
- In a separate bowl, whip the heavy cream until soft peaks form.
- Fold in the sweetened condensed milk, vanilla extract, and lemon juice gently.
- Spoon or pipe the filling into the cooled crusts.
- Top each mini cup with a generous dollop of whipped cream and sprinkle with chocolate shavings or fresh fruit.


