Classic Hibachi Shrimp
Ah, the memories of sitting around a teppanyaki grill, watching the chef perform their culinary magic—all while the savory aroma of cooking shrimp fills the air. It’s an experience that sparks joy and brings back fond memories of family outings and celebratory dinners. I always felt like I was part of the spectacle, anticipating that first bite of perfectly seasoned shrimp. Now, I’ve brought that culinary adventure home with this classic hibachi shrimp recipe that’s just as enjoyable to make as it is to eat.
What Makes This Recipe Special
This hibachi shrimp recipe celebrates vibrant flavors, buttery textures, and a quick cooking technique that highlights the shrimp’s natural sweetness. The combination of garlic, soy sauce, and a hint of sesame elevates each bite, making it a standout dish in any weeknight lineup. And the best part? You can whip it up in under 30 minutes, so it’s perfect for busy evenings when you still want something special.
Ingredients
Here’s everything you’ll need to make this hibachi shrimp magic happen:
- 1 pound of large shrimp, peeled and deveined
- 2 tablespoons vegetable oil (or melted butter for a richer flavor)
- 3 cloves garlic, minced
- 2 tablespoons soy sauce (low-sodium works great)
- 1 tablespoon sesame oil
- 1 tablespoon lemon juice (freshly squeezed is preferred)
- Salt and pepper, to taste
- Chopped green onions, for garnish
- Sesame seeds, for garnish (optional)
All set? Let’s get started!
Cooking Instructions
Begin by heating your pan or wok over medium-high heat. Once it’s hot, add the oil (or melted butter), allowing it to shimmer. You’re looking for it to be hot enough that it starts to slightly smoke—this will give the shrimp that delightful sear.
Next, toss in the minced garlic, stirring it around gently for about 30 seconds until it’s fragrant. Be careful not to burn it! Once that glorious aroma starts wafting through your kitchen, it’s time to add the shrimp. Arrange them in a single layer, which helps to get that lovely golden color.
After about a minute, flip the shrimp over. They should be turning a beautiful pink hue. Now, drizzle the soy sauce and sesame oil over them. Give it a gentle toss to ensure each shrimp is coated with this flavorful mixture.
Continue cooking for another couple of minutes, turning the shrimp occasionally until they’re opaque and cooked through—this should take about 4-5 minutes in total. Right before removing from the heat, add a splash of fresh lemon juice for brightness.
Finish with a sprinkle of salt, pepper, and any garnishes—green onions or sesame seeds—as desired. Now, don’t just stand there! Plate it up and get ready to enjoy a taste of the hibachi experience right in your home.
Serving Suggestions
Classic Presentation: Serve your beautifully cooked hibachi shrimp over a bed of steamed jasmine rice or fried rice. Add a side of stir-fried vegetables to brighten the plate and round out a delightful meal.
Feel-Good Comfort: Pair your shrimp with a classic miso soup or a simple Asian slaw for a light, refreshing side. The contrasting textures and flavors keep everything exciting!
Party Platter: For entertaining, skew on wooden skewers, serve with dipping sauces, and make it a fun shrimp kabob tasting!
Tips & Variations
- Flavor Upgrades: Consider marinating your shrimp in a mixture of soy sauce, garlic, and ginger for about 30 minutes before cooking, adding increased depth to the flavor.
- Vegan/Vegetarian Version: Substitute shrimp with firm tofu or tempeh. Slice into cubes and prepare in the same manner for a delicious meat-free meal.
- Ready in Advance: Prep your ingredients ahead of time. Chop the garlic, clean and devein the shrimp, and mix the sauces, making it even quicker to cook during the week.
- Extra Crunch: Add chopped bell peppers or snap peas during the last minute of cooking for a colorful, crunchy addition.
Q&A Section
Q: Can I use frozen shrimp?
Absolutely! Just make sure to thaw them completely and pat them dry before cooking. Any extra moisture can cause splattering!
Q: How do I know when the shrimp are done?
When shrimp turn pink and opaque throughout, they are done. They should have a firm texture but still be tender. Overcooking can lead to rubbery shrimp, so keep an eye on them!
Q: Can I use a different cooking method?
Yes! If you’d prefer, you can grill the shrimp on skewers for a smoky flavor or bake them at 400°F for about 8-10 minutes.
Q: What if I don’t have sesame oil?
You can skip it entirely or substitute with olive oil or additional vegetable oil, but you’ll miss out on that unique nutty flavor.
Behind The Scenes
When I first attempted this recipe, I’ll admit it was a bit more trial-and-error than I’d like to admit. The challenge was getting that perfect sear without overcooking the shrimp. After a couple of rounds in the kitchen—and a few batches that went from juicy to rubbery—I discovered that the secret was all in the heat. Once I had that figured out, the flavors started coming together beautifully.
Final Thoughts
As you embrace this ikon of hibachi cooking, think about the memories you can create at your dinner table, inviting others to share in the experience. It’s perfect for a casual weeknight meal or a special gathering with friends. Pair it with a crisp salad or some noodles, and you’ve got an impressive meal ready to go.
I can’t wait for you to try this amazing hibachi shrimp recipe! Share your creations with me—I’d love to hear how it turned out!
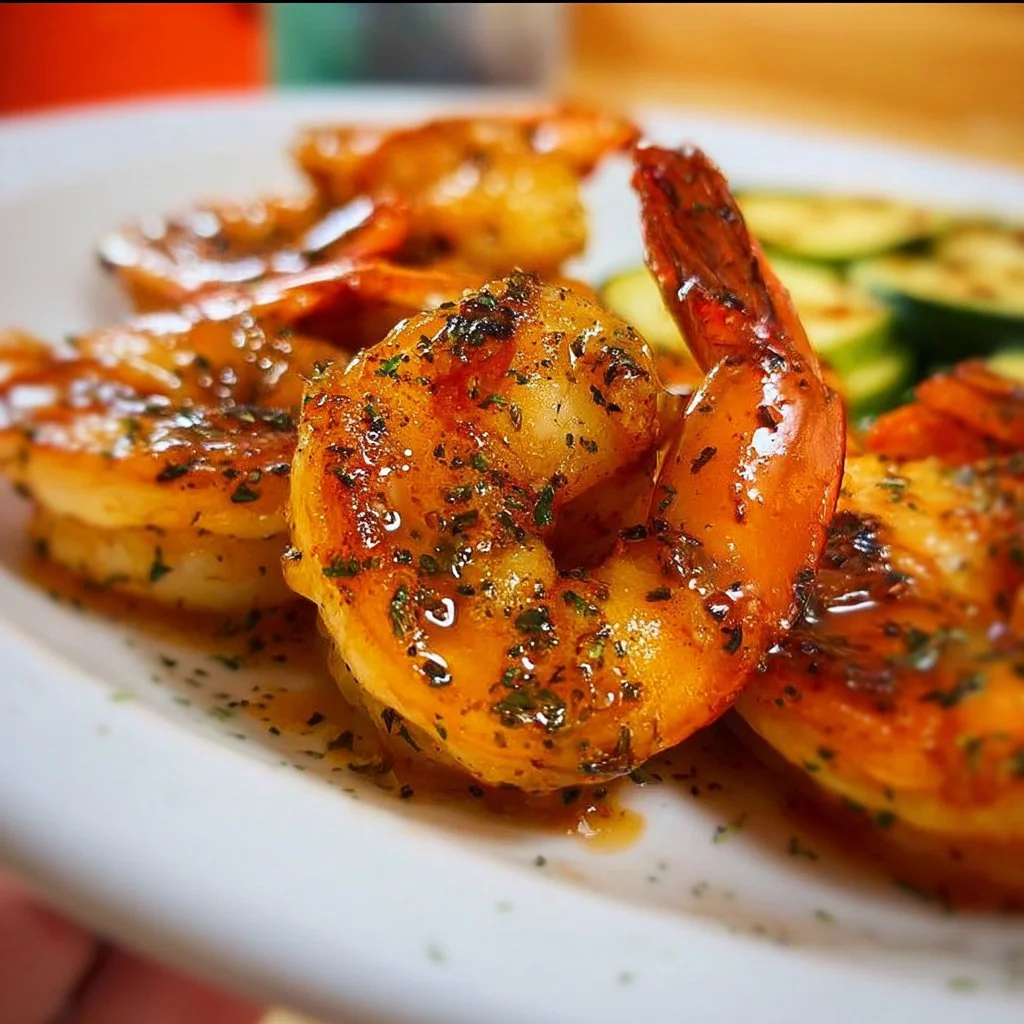
Hibachi Shrimp
Ingredients
Method
- Heat your pan or wok over medium-high heat. Add the oil or melted butter, allowing it to shimmer.
- Toss in the minced garlic, stirring gently for about 30 seconds until fragrant.
- Add the shrimp in a single layer to achieve a beautiful golden color.
- After about a minute, flip the shrimp, they should be turning pink.
- Drizzle the soy sauce and sesame oil over the shrimp and toss gently.
- Continue cooking for another 4-5 minutes until the shrimp are opaque and cooked through.
- Add a splash of fresh lemon juice right before removing from heat.
- Finish with salt, pepper, and any desired garnishes.


