Irresistible Peanut Butter Brownie Bombs
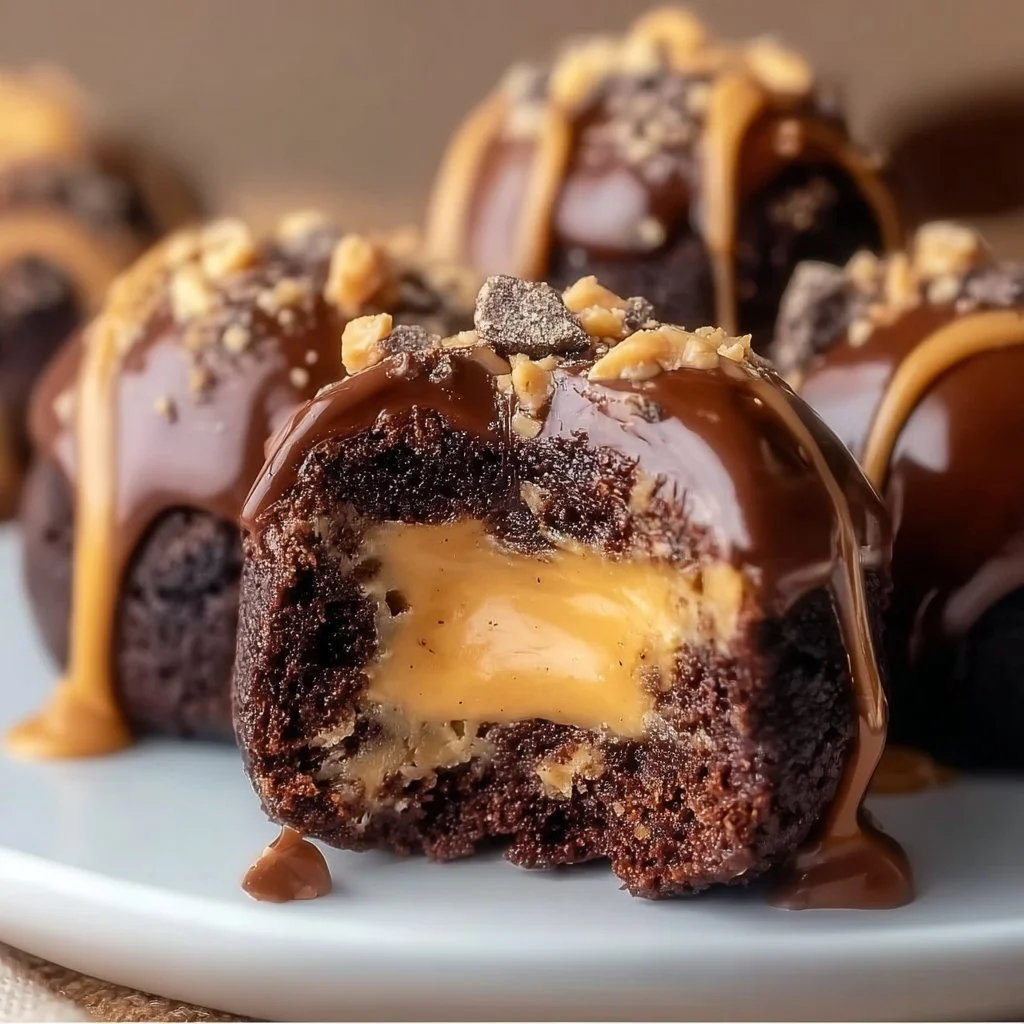
There’s something magical about the combination of chocolate and peanut butter that creates a wave of nostalgia every time I indulge. I remember the first time I tried a sweet treat packed with these flavors; it felt like a cozy afternoon spent at my grandmother’s kitchen countertop, the air rich with the aroma of baking. These Peanut Butter Brownie Bombs take that beloved childhood memory and transform it into something easy and delightful. Just picture moist, fudgy brownie bites filled with creamy peanut butter—pure bliss! You may also find Chocolate Peanut Butter Protein Shake useful.
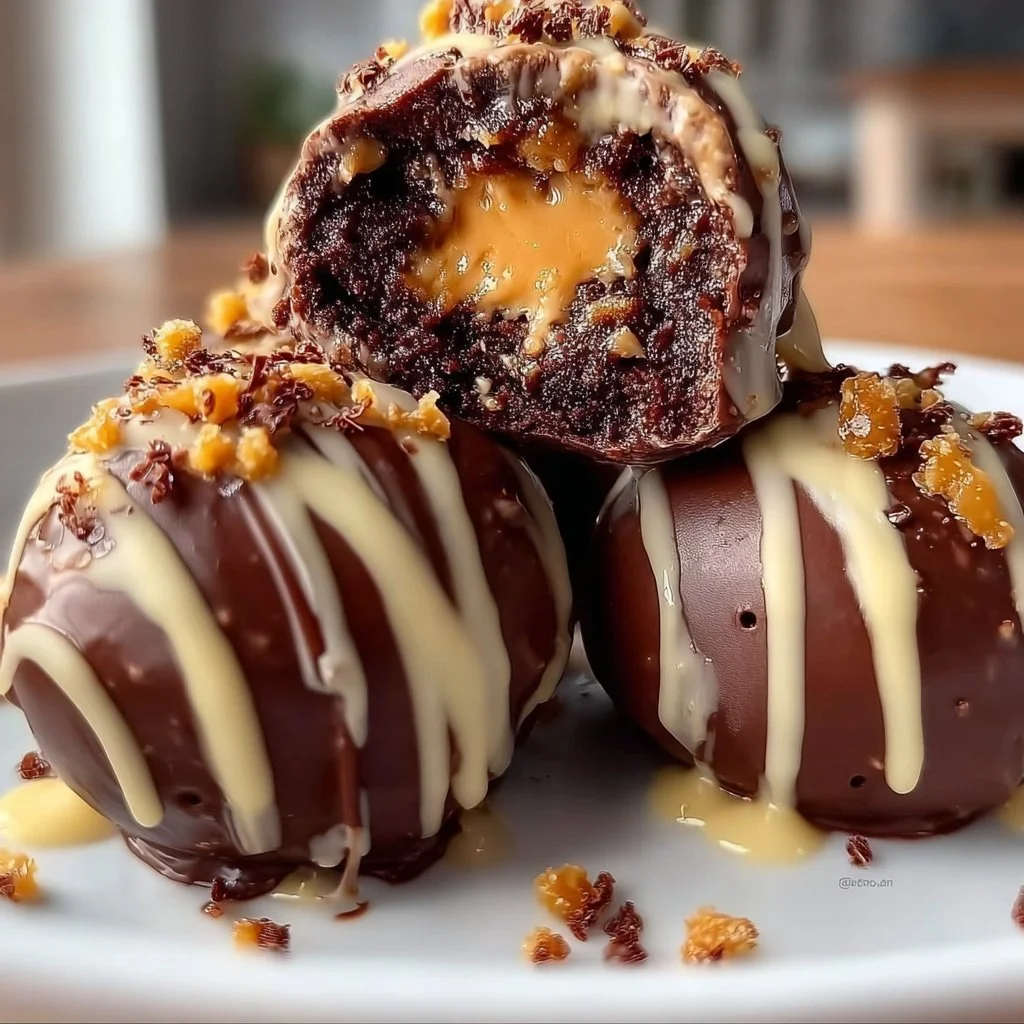
What makes this recipe special is its simplicity paired with indulgence. These brownie bombs are not only incredibly tasty but also super quick to whip up, making them perfect for surprising guests or enjoying a little treat after a long day. And the best part? You can customize them with your favorite mix-ins or toppings, turning each batch into a new adventure! You may also find Chocolate Peanut Butter Protein Smoothie useful.
Ingredients
- 1 cup chocolate chips (semi-sweet or dark)
- 1/2 cup creamy peanut butter (or crunchy for added texture)
- 1/2 cup coconut flour (can substitute with all-purpose flour)
- 1/4 cup cocoa powder
- 3/4 cup sweetener (sugar, honey, or a sugar substitute)
- 2 large eggs
- 1 teaspoon vanilla extract
- 1/2 teaspoon baking powder
- A pinch of salt
Instructions
To start, preheat your oven to 350°F (175°C). Prepare a baking sheet by lining it with parchment paper, which makes for easy cleanup later on.
Meanwhile, melt your chocolate chips in a microwave-safe bowl, heating them in short intervals and stirring until smooth. This step not only enriches the flavor but also gives the bombs a gorgeous glossy finish.
Once melted, add the peanut butter to the chocolate mixture and stir until well combined. This creates that silky, irresistible filling that will be the heart of your brownie bombs.
Next, in a separate bowl, whisk together the coconut flour, cocoa powder, sweetener, baking powder, and salt. Gradually pour the dry ingredients into the chocolate mixture, mixing until you achieve a thick, brownie-like batter.
Incorporate the eggs one at a time into the batter, along with the vanilla extract, until everything is blends beautifully. The dough should look rich and fudgy.
Now for the fun part—scoop a tablespoon of batter onto the prepared sheet, making a small indentation in the center. Spoon a little peanut butter into that indentation before topping it off with more brownie batter to encase the filling. Bake for about 10-12 minutes, or until the edges are set but the center remains slightly gooey. They will firm up as they cool.
Let the brownie bombs cool for a few minutes on the baking sheet before transferring to a wire rack. This step is crucial; too much heat can cause them to fall apart. They’re best enjoyed while still warm but can also be stored in an airtight container for a few days.
Serving Suggestions
You can serve these delightful Peanut Butter Brownie Bombs as a fun party treat or enjoy them during a cozy night in with a good movie. Pair them with a scoop of vanilla ice cream for a classic dessert moment. Alternatively, they make a great addition to lunchboxes or as an energizing snack before or after workouts.
Tips and Variations
Feel free to get creative! You can add chopped nuts or chocolate chunks for extra texture. If you want a healthier twist, try incorporating some unsweetened applesauce or swapping peanut butter for almond butter. Vegan? No problem! Use flax eggs instead of regular eggs and choose a vegan chocolate option. For those who love a little extra chocolate, drizzling melted chocolate over the top before serving could elevate these treats.
Q&A Section
1. Can I use a different type of flour?
Absolutely! While coconut flour works great, you can substitute it with almond flour or even whole wheat flour for varied flavors and textures.
2. How should I store the brownie bombs?
Store them in an airtight container at room temperature for up to four days. If you need to keep them longer, refrigeration may help maintain freshness.
3. Can I make these gluten-free?
Yes, just make sure to use gluten-free flour in your mix, and you’ll have a delicious gluten-free treat!
4. Can I freeze these brownie bombs?
Certainly! They freeze well. Just separate each brownie bomb with parchment paper and store them in an airtight container for up to three months.
Behind The Scenes
Creating these Peanut Butter Brownie Bombs was such a delightful journey! I tried various proportions of peanut butter and chocolate before landing on the perfect balance. There were a few moments of trial and error, notably during my quest for the ideal gooey center without compromising the brownie texture. But every tweak brought me closer to that sweet spot of decadent indulgence!
Conclusion
These Peanut Butter Brownie Bombs are sure to satisfy any chocolate lover’s cravings! They’re perfect for gatherings or simply as a self-indulgent treat. You can explore more about similar recipes like Brownie Peanut Butter Bombs or try making Peanut Butter Brownie Bombs for more delightful variations. Don’t forget to share your experience with these delightful bites; I’d love to know how yours turn out! Happy baking!
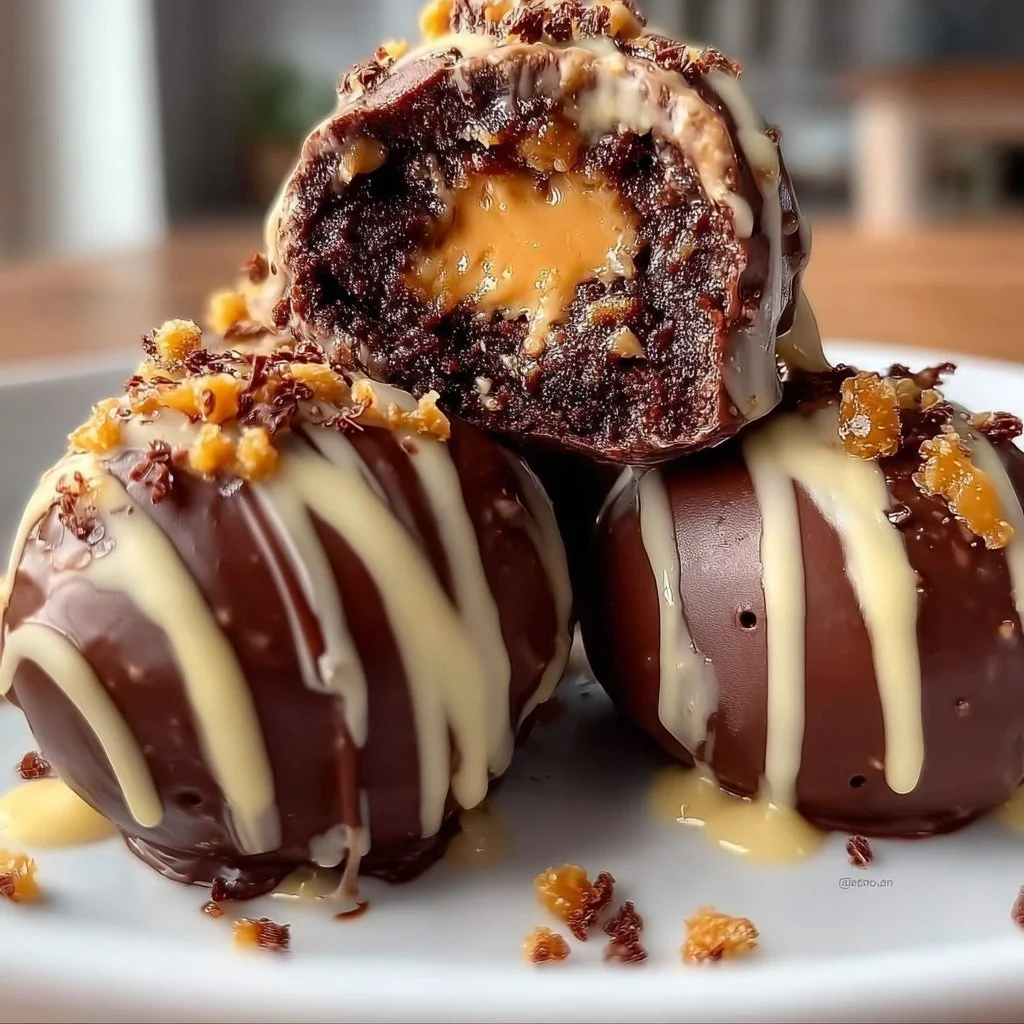
Peanut Butter Brownie Bombs
Ingredients
Method
- Preheat your oven to 350°F (175°C) and line a baking sheet with parchment paper.
- Melt the chocolate chips in a microwave-safe bowl, heating in short intervals and stirring until smooth.
- Add the peanut butter to the melted chocolate and stir until well combined.
- In a separate bowl, whisk together the coconut flour, cocoa powder, sweetener, baking powder, and salt.
- Gradually mix the dry ingredients into the chocolate mixture until combined.
- Incorporate the eggs one at a time along with the vanilla extract until the mixture is fudgy and smooth.
- Scoop a tablespoon of batter onto the lined baking sheet, create an indentation, fill it with peanut butter, and top with more batter.
- Bake for about 10-12 minutes, until edges are set but centers are slightly gooey.
- Let cool for a few minutes on the baking sheet before transferring to a wire rack.


