Chocolate Ice Cream Cake
There’s something enchanting about chocolate ice cream cake that transports you back to childhood summers, carefree days, and joyous celebrations. The first scoop brings back memories of slivers of cake melting into a creamy delight, perfectly paired with laughter and the sounds of happiness. This cake isn’t just food; it’s a slice of nostalgia and joy that brings friends and family together.
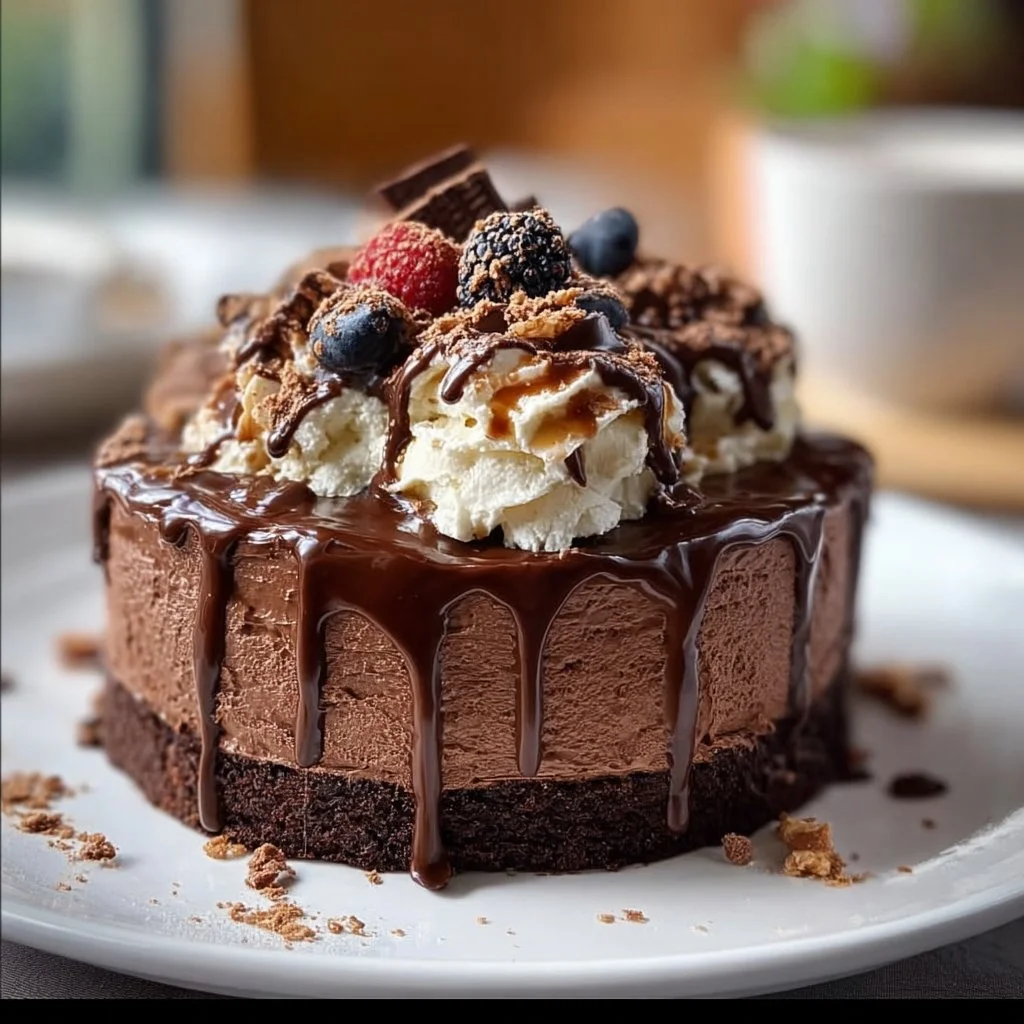
What makes this chocolate ice cream cake truly special is its delightful layers combining rich chocolate cake with decadent ice cream, creating an indulgent treat that melts in your mouth. It’s surprisingly straightforward to whip up, delivering incredible flavors without a lot of fuss. Whether it’s for a birthday or just a Saturday treat, this recipe will elevate any occasion.
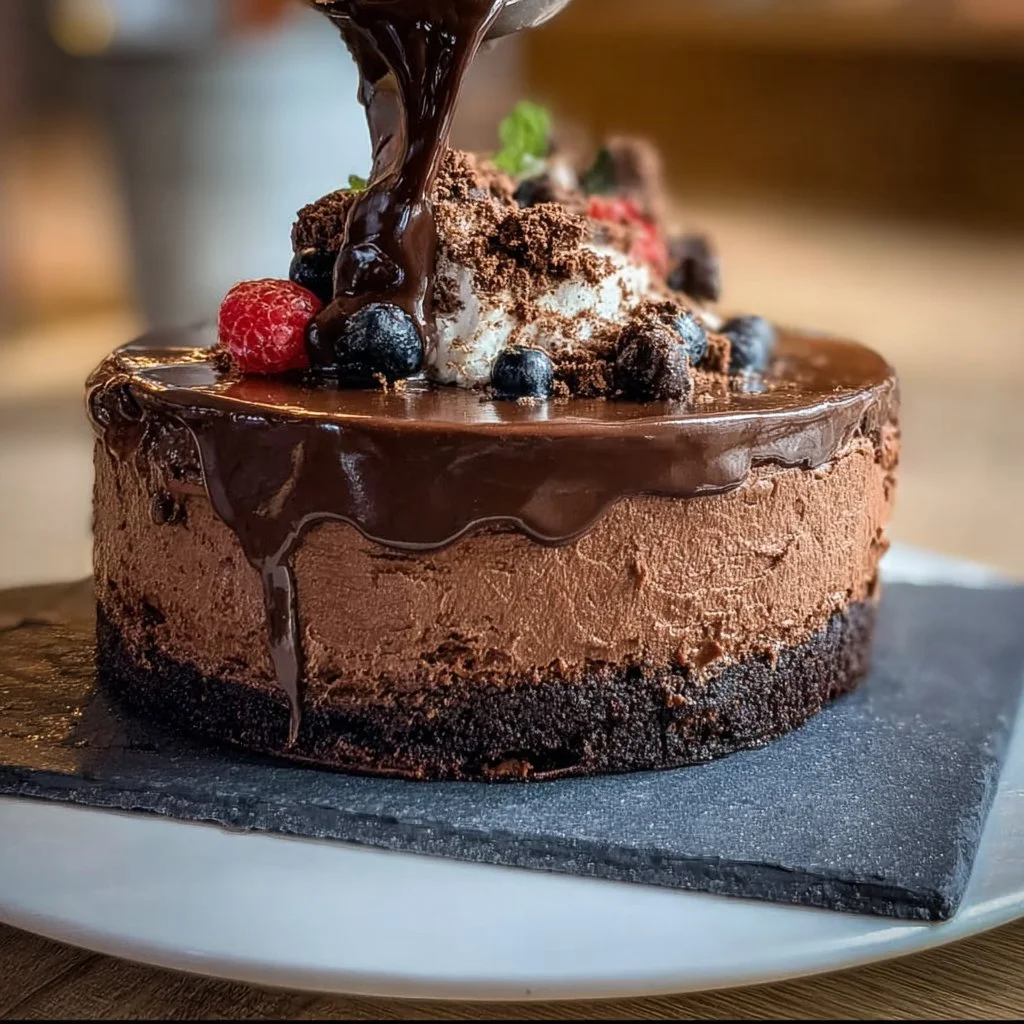
Ingredients
-
For the Chocolate Cake:
- 1 cup all-purpose flour
- 1 cup granulated sugar
- ½ cup unsweetened cocoa powder
- 1 tsp baking powder
- ½ tsp baking soda
- ¼ tsp salt
- 1 large egg
- ½ cup milk
- ½ cup vegetable oil
- 1 tsp vanilla extract
- ½ cup boiling water
-
For the Ice Cream Layer:
- 4 cups chocolate ice cream (or any flavor you prefer)
-
Optional Garnishes:
- Whipped cream
- Chocolate shavings
- Fresh berries
Instructions
Begin by preheating your oven to 350°F (175°C) and greasing a round 9-inch cake pan. Combine the flour, sugar, cocoa powder, baking powder, baking soda, and salt in a mixing bowl. Whisk them together until they’re well-blended. In another bowl, whisk the egg, milk, oil, and vanilla extract, then add this mixture to the dry ingredients. Stir until just combined. Now, carefully mix in the boiling water; this will create a thin batter, but don’t worry, that’s perfect!
Pour the batter into your prepared cake pan and bake for about 30-35 minutes. You’ll know it’s done when a toothpick inserted into the center comes out clean. Once baked, allow the cake to cool in the pan for about 10 minutes, then transfer it to a wire rack to cool completely.
After the cake has cooled, you can layer the chocolate ice cream. Gently slice the cake in half horizontally, creating two layers. Spread a generous amount of softened chocolate ice cream on the bottom layer, then carefully place the top layer back on. This is where you can be creative! If desired, you could try incorporating some fudge sauce or even fruit layers to surprise and delight everyone at the table.
Wrap the cake in plastic wrap and place it in the freezer for at least 2-3 hours to firm up.
Serving Suggestions
This chocolate ice cream cake is delightful as the centerpiece of any gathering. Serve it at birthday parties, family reunions, or friendship get-togethers. Pair it with a hot cup of coffee or a refreshing iced tea for a balanced treat. Creativity is key; consider serving it with a dollop of homemade whipped cream or a sprinkle of nuts for added texture.
Tips and Variations
Feel free to customize this recipe to suit your taste! Switch up the flavor of the ice cream to vanilla or raspberry for a fruity twist. You can also make a vegan version using plant-based ice cream and egg substitutes. For a quicker prep time, consider using store-bought cake mix!
If you want to glam up the presentation, drizzle with caramel sauce or decorate with colorful fruit garnishes. The options are endless, and each twist adds a personal touch to your cake.
Q&A Section
1. Can I make this cake a day in advance?
Absolutely! The cake holds up well in the freezer and can be made one day ahead of time.
2. Can I use different flavors of ice cream?
Yes! Any flavor can be used, and mixing flavors can yield delightful results.
3. What’s the best way to store leftovers?
Wrap any leftover cake tightly in plastic wrap or store in an airtight container in the freezer for a week.
4. Can I add layers of other toppings?
Certainly! Try adding crushed cookies, nuts, or fruit layers for more texture and flavor.
Behind The Scenes
When I first attempted this chocolate ice cream cake, it was meant to be a quick dessert for a family get-together. I found myself experimenting with layering different flavors. There were some ups and downs, particularly with getting the ice cream to set perfectly. However, each trial brought me closer to the right balance of cake and ice cream. The joy of seeing everyone’s faces light up as they took their first bites was immensely rewarding. It ultimately reaffirmed my love for combining ice cream with cake—a classic favorite!
Final Thoughts
This chocolate ice cream cake is a wonderful treat that brings people together, combining the richness of chocolate cake with delectable ice cream. It’s perfect for summer gatherings and celebrations. You can enjoy it alongside a refreshing drink or even coffee as a sweet finish.
Looking for additional dessert ideas? Check out this amazing recipe for chocolate chip cheesecake bars or try your hand at a blueberry sour cream pound cake for a delightful twist.
Conclusion
In conclusion, this chocolate ice cream cake offers a comforting and nostalgic indulgence that can brighten any occasion. For more inspiration on easy chocolate desserts, consider the Easy Chocolate Ice Cream Cake Recipe from Beyond Frosting or check out Olivia’s Cuisine for their take on Chocolate Ice Cream Cake. Happy baking! Can’t wait for you to try it!

Chocolate Ice Cream Cake
Ingredients
Method
- Preheat your oven to 350°F (175°C) and grease a round 9-inch cake pan.
- In a mixing bowl, combine the flour, sugar, cocoa powder, baking powder, baking soda, and salt. Whisk until well-blended.
- In another bowl, whisk the egg, milk, oil, and vanilla extract. Add this mixture to the dry ingredients and stir until just combined.
- Carefully mix in the boiling water to create a thin batter.
- Pour the batter into the prepared cake pan and bake for about 30-35 minutes, or until a toothpick inserted in the center comes out clean.
- Allow the cake to cool in the pan for about 10 minutes, then transfer it to a wire rack to cool completely.
- Once the cake has cooled, slice it in half horizontally to create two layers.
- Spread a generous amount of softened chocolate ice cream on the bottom layer, then carefully place the top layer back on.
- Wrap the cake in plastic wrap and place it in the freezer for at least 2-3 hours to firm up.


