Indulge in No Bake Chocolate Peanut Butter Oreo Dessert Bliss
There’s something undeniably comforting about desserts that remind us of childhood—those carefree days spent with friends and family, indulging in sweet treats that brought smiles all around. This No Bake Chocolate Peanut Butter Oreo Dessert Bliss is the perfect nostalgic treat that whisks you back to simpler times. With its smooth chocolate and creamy peanut butter contrast, this dessert is not only quick to prepare but also a total crowd-pleaser. You may also find Dreamy Peanut Butter Marshmallow Squares No Bake Dessert Bliss useful.
What makes this dessert special is the delightful combination of flavors and textures. The crunch of the Oreo crust pairs beautifully with the velvety filling, creating a blissful experience in every bite. Plus, with no baking required, you can whip this up and enjoy it in a fraction of the time that traditional desserts demand. If you’re short on time and longing for something sweet, this recipe is a perfect solution. For an added twist, you might consider pairing this dessert with a refreshing chocolate peanut butter protein shake for a balanced treat!
Ingredients
-
For the crust:
- 24 Oreo cookies, crushed
- 5 tablespoons unsalted butter, melted
-
For the filling:
- 1 cup creamy peanut butter
- 1 cup cream cheese, softened
- 1 cup powdered sugar
- 1 teaspoon vanilla extract
- 1 cup whipped cream or whipped topping
-
For the topping:
- Chocolate sauce, for drizzling
- Crushed Oreos or mini chocolate chips, for garnish
Instructions
Start by preparing the crust. In a mixing bowl, combine the crushed Oreos and melted butter. Stir until the mixture resembles wet sand. Press this blend firmly into the bottom of a greased 9×9-inch baking dish. Ensure it’s packed tightly, as this will provide a sturdy base.
Next, focus on the filling. In a large bowl, beat together the peanut butter, softened cream cheese, and powdered sugar until smooth and creamy. Add the vanilla extract and continue mixing until fully incorporated. Gently fold in the whipped cream until the filling is light and fluffy. This is where the magic happens; this creamy mixture will be the star of your dessert.
Pour the filling over the prepared Oreo crust, spreading it evenly with a spatula. Chill it in the refrigerator for at least four hours, or until it sets firmly. The waiting might be the hardest part, but it will be absolutely worth it!
Once set, remove the dessert from the fridge. Drizzle chocolate sauce over the top and sprinkle with crushed Oreos or mini chocolate chips for that extra touch of indulgence.
Serving Suggestions
This dessert is perfect for all occasions! Whether you’re hosting a summer barbecue, celebrating a birthday, or just indulging on a weekend, it’s sure to delight everyone. Pair it with a scoop of vanilla ice cream or serve it alongside fresh berries to balance its richness. This versatile dessert can easily become the highlight of any gathering.
Tips or Variations
Feel free to get creative with this recipe! For a different flavor profile, try adding a layer of strawberry or raspberry preserves on top of the filling before chilling. If you’re looking for a vegan option, substitute the cream cheese with a dairy-free alternative and use coconut whipped cream instead of regular whipped cream. You can also play around with different kinds of cookies—try using chocolate wafers or even graham crackers for the crust!
Q&A Section
Q: Can I make this dessert ahead of time?
A: Absolutely! This dessert is great for making ahead. Just keep it covered in the refrigerator for up to 3 days before serving.
Q: Can I freeze this dessert?
A: Yes! You can freeze it, but it’s best enjoyed fresh. If you do freeze it, let it thaw in the fridge before serving for the best texture.
Q: How do I get the chocolate sauce to look nice?
A: For a beautiful presentation, use a squeeze bottle or spoon to drizzle the chocolate sauce in a zigzag pattern over the dessert.
Q: Can I use crunchy peanut butter instead of creamy?
A: Definitely! Crunchy peanut butter will add a nice texture to the filling, if you prefer a bit of a bite.
Behind The Scenes
When I first developed this recipe, I toyed with the idea of using different kinds of cookies. After several trials, the classic Oreo turned out to be the star! There were moments of trial and error, especially when finding the right balance of creaminess. In the end, I was thrilled with how it turned out—simple yet absolutely delicious!
Final Thoughts
No Bake Chocolate Peanut Butter Oreo Dessert Bliss not only satisfies sweet cravings but also evokes cherished memories of togetherness. This dessert is perfect for sharing with loved ones at any gathering or enjoying on a quiet evening at home. It’s rich, decadent, and sure to please everyone who takes a bite!
This dessert pairs wonderfully with other sweet treats, so consider adding it to your dessert table alongside options like a delightful No-Bake Peanut Butter Cup Icebox Cake or a slice of Chocolate Peanut Butter Pie. Can’t wait for you to try it!
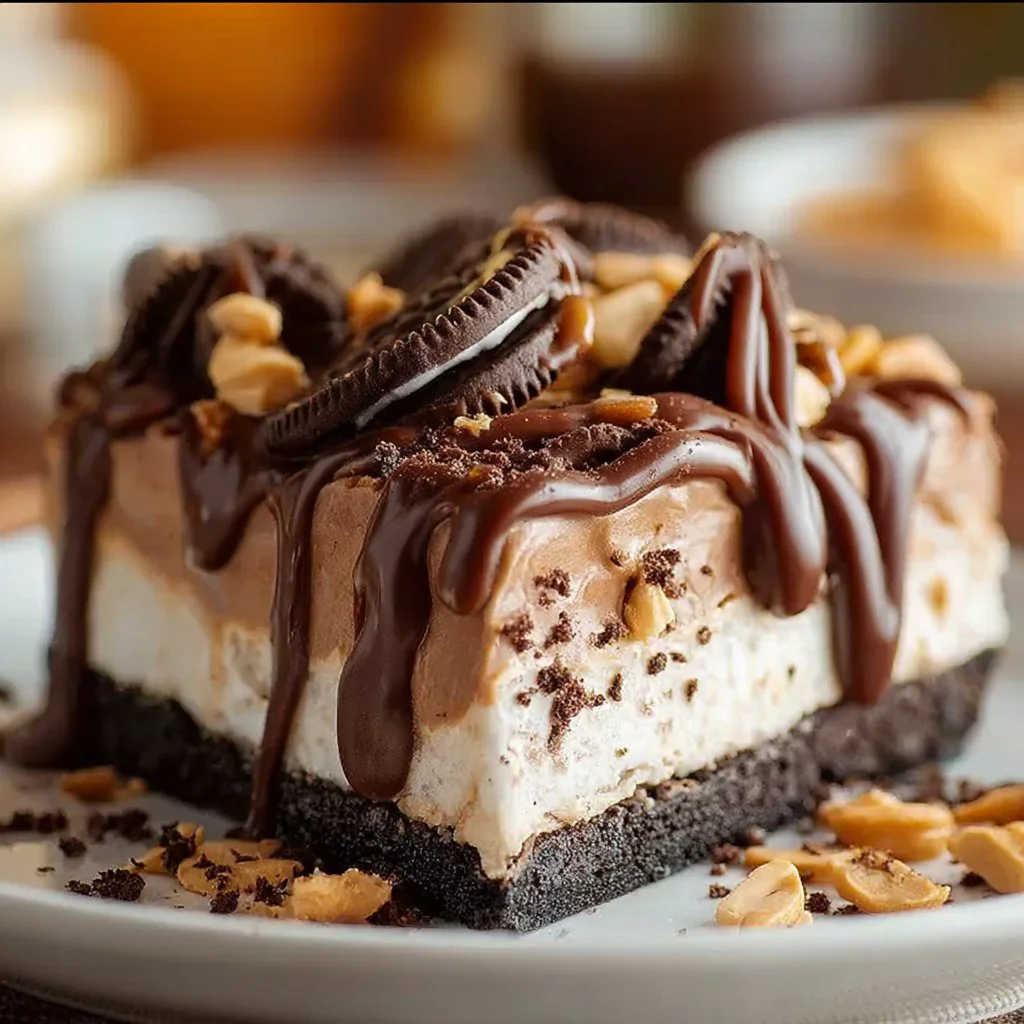
No Bake Chocolate Peanut Butter Oreo Dessert Bliss
Ingredients
Method
- In a mixing bowl, combine the crushed Oreos and melted butter. Stir until the mixture resembles wet sand.
- Press the blend firmly into the bottom of a greased 9x9-inch baking dish to form the crust.
- In a large bowl, beat together the peanut butter, softened cream cheese, and powdered sugar until smooth and creamy.
- Add the vanilla extract and continue mixing until fully incorporated.
- Gently fold in the whipped cream until the filling is light and fluffy.
- Pour the filling over the prepared Oreo crust, spreading it evenly with a spatula.
- Chill in the refrigerator for at least four hours, or until set firmly.
- Once set, remove the dessert from the fridge, drizzle chocolate sauce over top, and sprinkle with crushed Oreos or mini chocolate chips.


