Irresistible Gluten Free Hawaiian Rolls You’ll Love to Bake
There’s something truly special about the sweet aroma of freshly baked rolls wafting through your home, instantly creating a warm and inviting atmosphere. Imagine gathering around the table with family and friends, everyone sharing stories and laughter over a plate of soft, fluffy Hawaiian rolls. These rolls are not just a side dish; they embody nostalgia and comfort, making any meal feel festive.
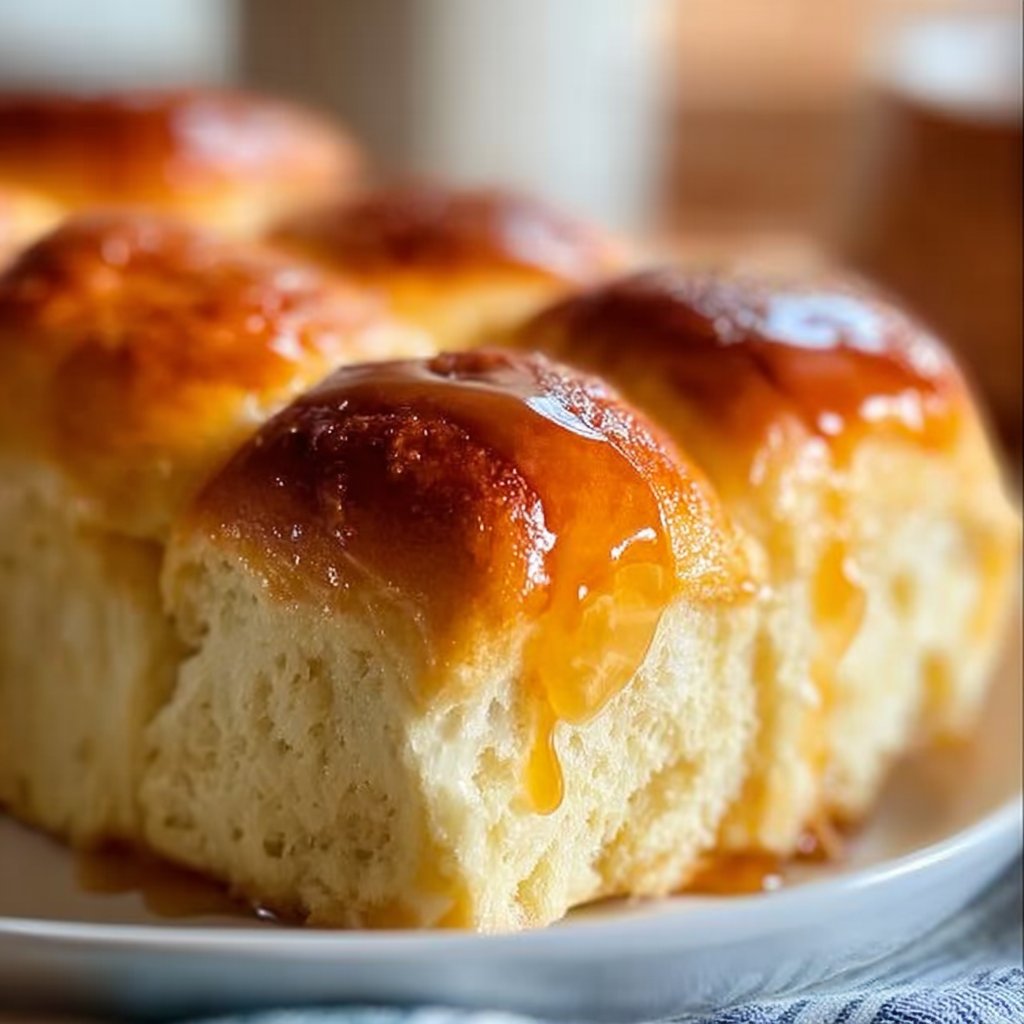
What makes this gluten-free Hawaiian rolls recipe stand out is its perfect balance of sweetness and softness. They’re light and airy, yet pack a flavorful punch that complements a variety of dishes. Plus, with the time-saving trick of using a stand mixer, you’ll have these rolls ready to share in no time!
Ingredients
- 3 ½ cups gluten-free all-purpose flour (plus extra for dusting)
- 1 packet active dry yeast (2 ¼ teaspoons)
- 1 cup warm milk (or dairy-free alternative)
- ¼ cup sugar (can substitute with coconut sugar)
- ½ cup unsalted butter (melted and slightly cooled, or dairy-free alternative)
- 2 large eggs
- 1 teaspoon vanilla extract
- 1 teaspoon salt
- Optional: ½ cup crushed pineapple (drained)
Instructions
Start by warming the milk in a microwave until it feels comfortably warm to the touch. Sprinkle the yeast and sugar over the warm milk, then let it sit for about 5 minutes until it becomes frothy. This step is crucial because it ensures your yeast is active and ready to rise.
In a large mixing bowl, combine the gluten-free flour and salt. Create a well in the center and pour in the yeast mixture, melted butter, eggs, and vanilla extract. If you’re using pineapple for added sweetness, mix it in now.
Using a stand mixer with a dough hook, mix the ingredients on medium speed for about 4-5 minutes. The dough will be slightly sticky but should pull away from the sides of the bowl. At this stage, you can add more flour if necessary. For a tasty serving idea, consider pairing these rolls with my gluten-free slow cooker chicken tortilla soup.
Transfer the dough to a greased bowl and cover it with a clean kitchen towel. Allow it to rise in a warm area until it doubles in size, typically about one hour.
Once the dough has risen, punch it down gently to release any air bubbles. Then, divide the dough into 12 equal portions. Shape each portion into a ball and place them in a greased baking dish, ensuring they are snug but not overcrowded.
Preheat your oven to 375°F (190°C). While the oven is warming, cover the rolls with a towel and let them rise for another 30 minutes. This second rise is essential for achieving that perfect fluffy texture.
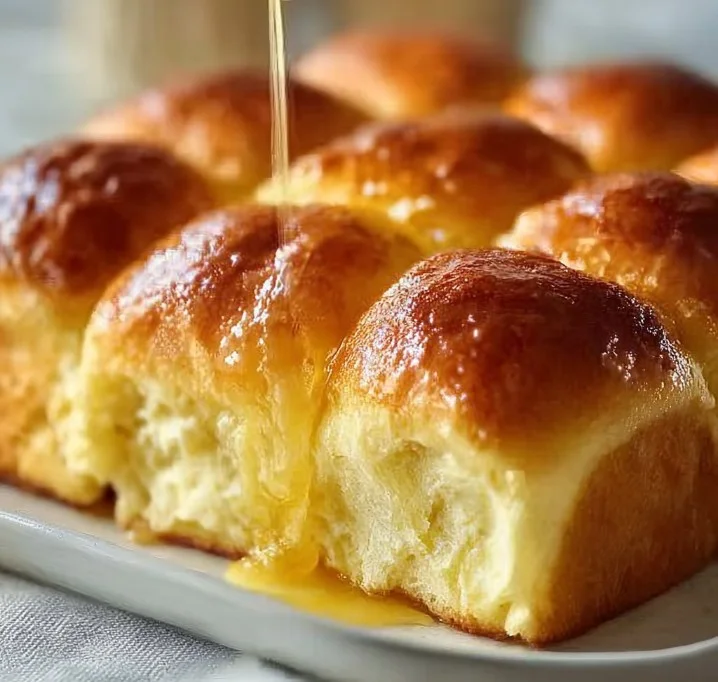
When the rolls have puffed up nicely, place them in the oven and bake for 25-30 minutes, or until golden brown on top and hollow sounding when tapped. Once baked, brush with melted butter for an extra touch of flavor and shine.
Serving Suggestions
These delightful rolls are perfect for any occasion! Serve them warm alongside your favorite dishes, whether it’s a holiday meal, a summer barbecue, or a cozy family dinner. They also make a fantastic snack or breakfast option paired with a bit of jam or honey. For a delightful breakfast treat, you might enjoy them with my baked French toast casserole.
Tips or Variations
Feel free to experiment with different flavors by adding spices like cinnamon or nutmeg, or you can fold in some finely chopped herbs for a savory twist. If you want to make these rolls vegan, substitute the eggs with flaxseed meal and use a dairy-free butter alternative. To save time, consider preparing the dough a day in advance and refrigerating it overnight. Just remember to let it come to room temperature before the second rise.
Q&A Section
1. Can I make these rolls ahead of time?
Absolutely! You can prepare the dough in advance and let it rise in the fridge overnight. Just bring it back to room temperature before baking.
2. What gluten-free flour works best?
A good quality gluten-free all-purpose blend works well. Look for one that includes xanthan gum!
3. Can I freeze these rolls?
Yes, they freeze beautifully! After baking, let them cool completely before wrapping them in plastic and storing them in an airtight container.
4. How do I store leftovers?
Keep them in an airtight container at room temperature for a couple of days, or refrigerated for up to a week. You can also reheat them in the oven for a few minutes to refresh their softness.
Behind The Scenes
When I was developing this recipe, I wanted to capture the essence of traditional Hawaiian rolls while making them gluten-free. The first few batches were a bit too dry, but after tweaking ingredients and techniques, I finally found the right balance that delivers soft, tender rolls. It was a joyous moment when I pulled that first successful batch from the oven!
Final Thoughts
These gluten-free Hawaiian rolls are not just a recipe; they’re an experience filled with warmth and connection. Whether you’re enjoying them at dinner or serving them at a gathering, they are sure to please everyone at the table. The next time you’re in the kitchen, remember there’s a world of flavor waiting to be explored with these delightful rolls.
Conclusion
Baking gluten-free doesn’t have to be a challenge, and these Hawaiian rolls are the perfect proof! If you’re looking for a sweet treat to pair with your meal, check out The Best Gluten-Free Carrot Cake with Pineapple for a delicious dessert idea. For a fun appetizer, whip up some gluten-free pigs in a blanket. Can’t wait for you to try it!
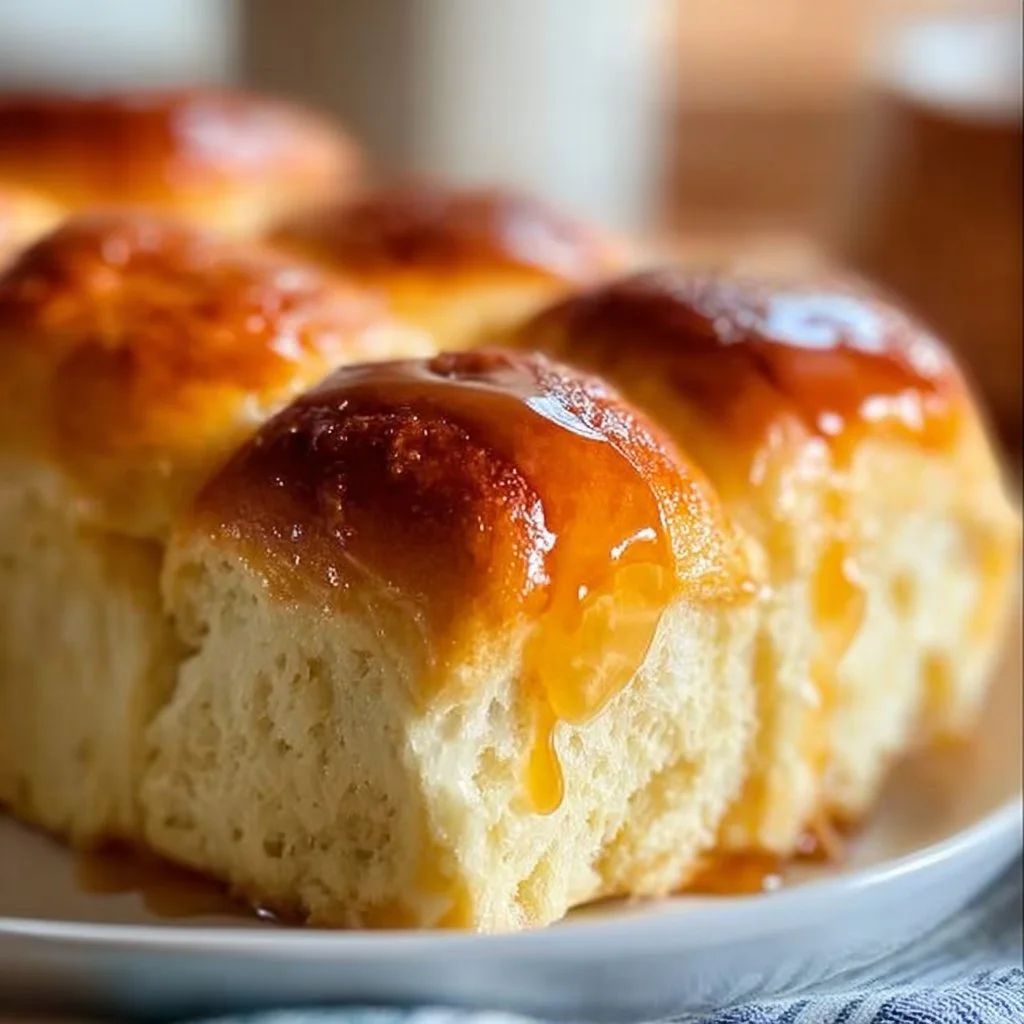

Gluten Free Hawaiian Rolls
Ingredients
Method
- Warm the milk in the microwave until it's comfortably warm to the touch. Sprinkle the yeast and sugar over the warm milk and let it sit for about 5 minutes until frothy.
- In a large mixing bowl, combine the gluten-free flour and salt. Create a well in the center and pour in the yeast mixture, melted butter, eggs, and vanilla extract. Mix in the crushed pineapple if using.
- Using a stand mixer with a dough hook, mix the ingredients on medium speed for about 4-5 minutes until the dough is slightly sticky but pulls away from the sides of the bowl. Add more flour if necessary.
- Transfer the dough to a greased bowl and cover with a clean kitchen towel. Let it rise in a warm area until it doubles in size, about 1 hour.
- Once risen, punch the dough down gently to release air bubbles. Divide into 12 equal portions and shape each into a ball. Place in a greased baking dish, ensuring they are snug but not overcrowded.
- Preheat your oven to 375°F (190°C). Cover the rolls with a towel and let them rise for another 30 minutes.
- Bake the rolls for 25-30 minutes, until golden brown on top. Brush with melted butter upon removal for added flavor.


