Sheet Pan Broccoli with Cheese: A Heartwarming Comfort Recipe
It’s funny how food can transport us back in time, isn’t it? I still remember those chilly fall evenings as a kid when my mom would serve up cozy meals that wrapped us in warmth. One of her staples was a vibrant dish of broccoli with cheese, lovingly baked to perfection. Naïve back then, I didn’t realize how simple and satisfying it was. Today, I’m thrilled to share my evolved version of that comfort classic: Sheet Pan Broccoli with Cheese. Let’s dive into this easy, crowd-pleasing recipe that’s perfect for busy weeknights or lazy evenings at home.
What Makes This Recipe Special
This Sheet Pan Broccoli with Cheese is not just another vegetable dish; it’s a delightful balance of crispy, tender broccoli topped with a golden, cheesy crust. What I love most is how easy it is to make—everything cooks together on a single sheet pan! Plus, you can customize the cheese or add a sprinkle of crunchy breadcrumbs for extra texture. Ready in under 30 minutes, it’s the perfect way to elevate your weeknight dinner.
Ingredients
- 1 lb fresh broccoli florets (you can substitute with frozen if you’re short on time)
- 2 tablespoons olive oil (or melted butter for richness)
- 1 teaspoon garlic powder
- Salt and pepper to taste
- 1 cup shredded cheese (cheddar is classic, but feel free to get creative with mozzarella, gouda, or even a dairy-free alternative)
- ¼ cup grated Parmesan cheese (optional for an extra cheesy finish)
- ¼ cup breadcrumbs (optional for added crunch)
- A squeeze of lemon juice (for brightness)
Let’s Get Cooking!
Begin by preheating your oven to 425°F (220°C). This high temperature is key for achieving that crispy texture we love. Next, spread the broccoli florets on a large sheet pan, making sure they’re in a single layer. Drizzle the olive oil over the broccoli and sprinkle with garlic powder, salt, and pepper. Toss everything together with your hands until the florets are well-coated—this is where love meets flavor!
Once your broccoli is ready, transfer it to the oven. Roast for about 15 minutes, during which time the edges will crisp up beautifully. Keep an eye on it; we want that charming golden color without burning.
After 15 minutes, take the sheet pan out and sprinkle the shredded cheese over the broccoli. For a little extra flair, add the breadcrumbs if you’re using them. Return it to the oven for an additional 5-10 minutes, until the cheese is melted and bubbly. Aim for that beautiful golden hue and just a slight crispiness on top.
When it’s ready, take it out and give it a final touch of fresh lemon juice to brighten up the flavors. Allow it to cool for a minute, then dig in!
Perfect Pairings for This Dish
As a Side Dish
Serve this broccoli alongside your favorite roasted chicken or grilled fish for a well-rounded meal. The creamy cheese acts as a perfect complement to savory meats.
In a Grain Bowl
Transform it into a lunch-worthy dish by adding quinoa or rice. Top it with a dollop of hummus or a tahini drizzle, making it even more satisfying.
For Vegetarians
Pair with a rich, hearty vegetable lasagna or a creamy pasta. The cheesiness of the broccoli will be a wonderful addition to the overall experience.
Tips and Variations
- Cheese Choices: Mix different cheeses to bring your flavor profile alive. Try adding some pepper jack for a kick or goat cheese for a creamier texture.
- Vegan Version: Swap out the cheese for a plant-based alternative, or even try a cashew cheese blend. Just make sure to adjust the cooking time as needed.
- Add-Ins: Want to throw in some extra veggies? Peppers, carrots, or even cauliflower can be tossed in with the broccoli for a colorful mix.
- Prep Shortcut: To save time, consider pre-cut broccoli from your local grocery store, and make sure to use pre-shredded cheese.
Q&A Section
1. Can I use frozen broccoli for this recipe?
Absolutely! Just be aware that frozen broccoli might add some moisture. Bake until the cheese is melted and everything looks hot and bubbly.
2. How do I store leftovers?
Store any leftovers in an airtight container in the refrigerator for up to 3 days. You can reheat it in the oven or microwave until warmed through.
3. Can I make this dish ahead of time?
You can prep everything ahead, but I recommend baking it just before serving for the best texture.
4. What’s the best cheese for this recipe?
Cheddar cheese is a classic, but feel free to experiment! Mozzarella offers a nice stretch, while gouda adds a smoky note.
Behind the Scenes
When I created this Sheet Pan Broccoli with Cheese, my kitchen turned into a delightful mess! I wanted to find the balance between crispy and gooey. The first few tries were a little too cheesy, while others didn’t have enough flavor. After perfecting the garlic seasoning and mastering the roasting time, my family gave my final version a triumphant thumbs up. There’s nothing quite like finding that perfect combination!
Final Thoughts
This Sheet Pan Broccoli with Cheese is not just a side dish; it’s an experience waiting to happen. You can whip it up quickly, pair it with your favorite meals, or simply savor it on its own. So, grab your pan and get ready to relive those cozy memories while introducing some new flavors to your table! Enjoy the love that’s baked into this dish; I’m sure you’ll make it a regular in your home.
Happy cooking, and I can’t wait to hear how yours turns out!
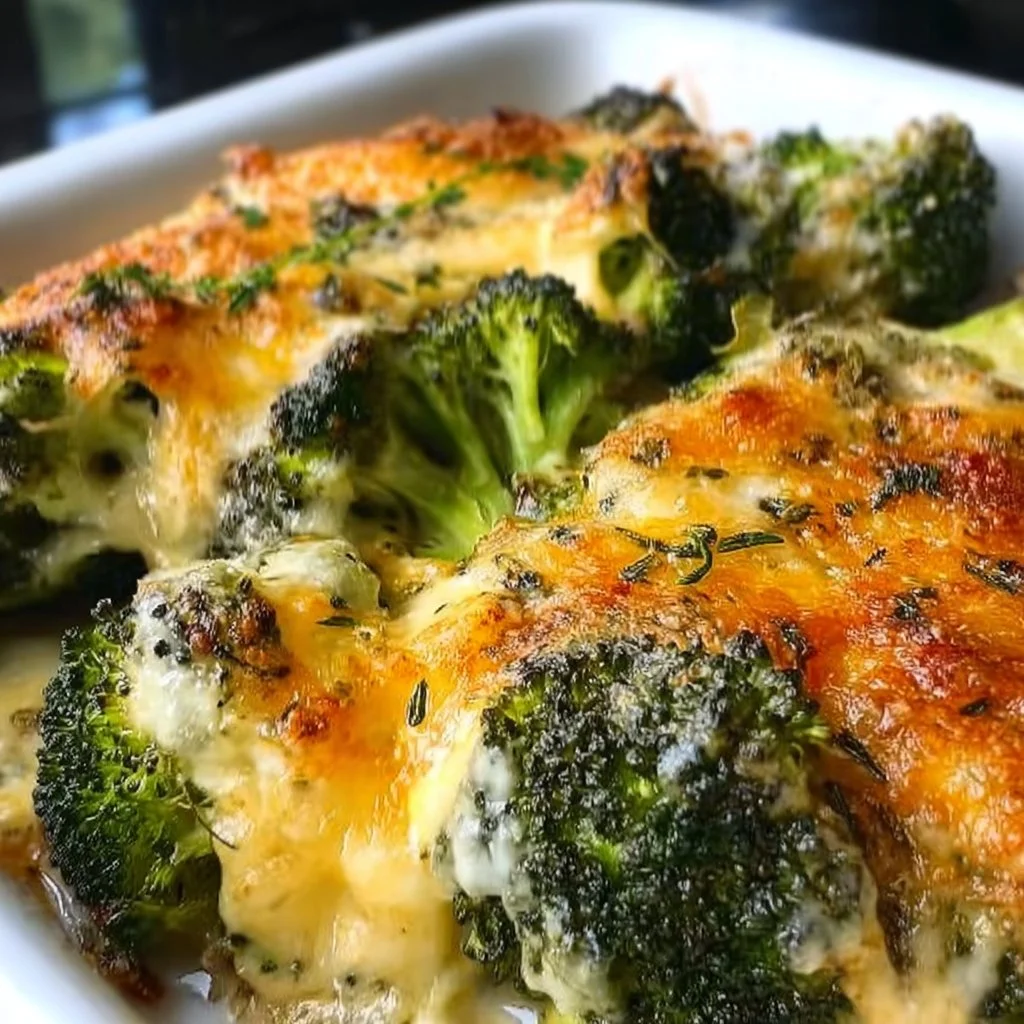

Sheet Pan Broccoli with Cheese
Ingredients
Method
- Preheat your oven to 425°F (220°C).
- Spread the broccoli florets on a large sheet pan in a single layer.
- Drizzle the olive oil over the broccoli and sprinkle with garlic powder, salt, and pepper.
- Toss everything together with your hands until the florets are well-coated.
- Roast the broccoli in the oven for about 15 minutes until the edges crisp up.
- Remove the sheet pan from the oven and sprinkle the shredded cheese over the broccoli.
- If using, add the breadcrumbs on top.
- Return to the oven for an additional 5-10 minutes until the cheese is melted and bubbly with a golden hue.
- Remove from the oven and give it a final touch of fresh lemon juice.
- Allow it to cool for a minute before serving.


