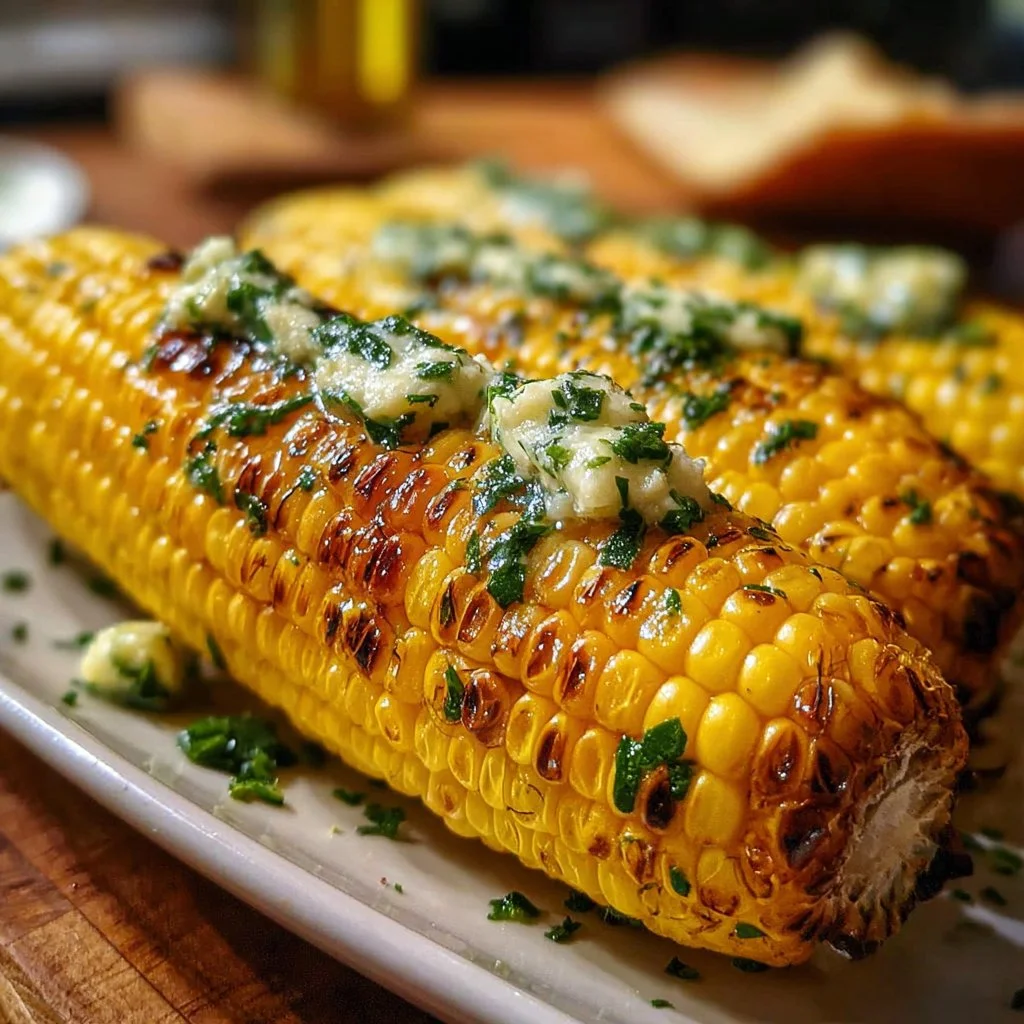
Grilled Corn on the Cob with Garlic Herb Butter
A Summer Memory
Every summer, I remember the bright afternoons spent with family in the backyard, the grill sizzling away, and the tantalizing aroma of fresh corn on the cob drifting through the air. It’s a celebration of warmth and laughter, punctuated by those first juicy bites of sweet corn. There’s something magical about transforming that simple vegetable into a delightful treat, especially with the addition of homemade garlic herb butter. Just the thought of it brings a smile!
Why This Recipe Stands Out
What makes this grilled corn on the cob truly special is the garlic herb butter. The combination of fresh herbs like parsley and chives, along with rich garlic, elevates the flavor to a whole new level. Not only does the butter melt beautifully into every kernel, but it also brings a burst of freshness that perfectly complements the smoky char from the grill. Plus, it’s easy to whip up, making it a fantastic side for weeknight dinners or weekend barbecues!
Ingredients You’ll Need
- 4 ears of fresh corn (husked and cleaned)
- ½ cup unsalted butter (softened)
- 3 cloves garlic (minced)
- 2 tablespoons fresh parsley (chopped)
- 2 tablespoons fresh chives (chopped)
- Salt and pepper (to taste)
- Optional: a pinch of smoked paprika for extra depth
Let’s Get Cooking!
Start by preparing your corn. Husk the ears and remove any silk, rinsing them under cool water to keep them fresh and clean. Soak the corn in a bowl of cold water for about 20 minutes. This little trick helps to keep the corn moist while grilling and prevents it from drying out too quickly.
While your corn is soaking, let’s turn our attention to the garlic herb butter. In a mixing bowl, combine the softened butter with the minced garlic, chopped parsley, and chives. Stir until everything is well incorporated. This will create a herb-infused butter that you’ll want to slather on everything! Don’t forget to add salt and pepper to your taste; feel free to experiment with seasonings depending on what you love.
Once your corn has soaked, drain it and pat it dry with a towel. Preheat your grill to medium-high heat. If you’re using a grill basket, you might want to toss the corn in there to make flipping easier. Otherwise, you can place the corn directly on the grates.
Place the corn on the grill, turning every few minutes. You’re looking for those beautiful char marks to develop and for the kernels to become tender. This usually takes about 10-15 minutes. The sweet aroma that fills the air will have your neighbors peeking over the fence!
When the corn is nearly done, brush on that delicious garlic herb butter. Allow it to melt and glaze each ear of corn while it finishes grilling. After a couple more minutes, it should be done! Remove the corn from the grill and let it cool slightly before serving — if you can resist the temptation!
Serving Suggestions
Perfect for Summer BBQs:
Serve this grilled corn as a spotlight side dish at your next barbecue. Pair it with grilled burgers or chicken for a deliciously satisfying meal.
Family-Friendly Dinner:
Corn on the cob makes a great accompaniment to weeknight dinners. Pair with your favorite pasta or grilled veggies for a hearty, wholesome meal.
Picnic Essential:
Bring this corn on the cob to your next picnic! Pack it in foil wrapped with butter and let your friends enjoy the garlic herby goodness.
Tips and Variations
Want to play with the flavor a bit? Experiment with different herbs! Rosemary or thyme can be great additions. For a spicy kick, try adding a dash of chili powder or cayenne to your butter mix. If you’re looking for a vegan option, consider swapping out the butter for a plant-based alternative; coconut oil or vegan butter works beautifully!
Q&A Section
Q: Can I use frozen corn instead of fresh?
A: While fresh corn provides the best flavor and texture, you can certainly use frozen corn. Just be sure to thaw it and pat it dry before grilling!
Q: How do I know when the corn is done?
A: The corn is ready when the kernels are tender and can be easily pierced with a fork, usually taking around 10-15 minutes on direct heat.
Q: Can I prepare the garlic herb butter in advance?
A: Absolutely! You can mix the butter ahead of time and store it in the fridge for a few days. Just make sure to allow it to soften back to a spreadable consistency before use.
Q: What if I don’t have a grill?
A: No worries! You can also cook the corn on a stovetop grill pan or even boil it if you prefer. Just follow the same steps in applying the garlic herb butter afterward!
Behind the Scenes
Creating this recipe was a delightful journey. The first attempt resulted in buttery, garlicky goodness, but my family suggested it needed more herbs for an extra kick. After a few tweaks, the harmonious blend of flavors shone through—making it an absolute hit! It’s those little moments of trial and error that make cooking such a rewarding experience.
Final Thoughts
This grilled corn on the cob with garlic herb butter is perfect for those sunny days of summer. Enjoy it as a side where you can savor every bite, paired next to grilled meats or alongside a light salad. No matter the occasion, it’s a dish that’s bound to bring a sense of joy and connection to your table.
I can’t wait for you to try this recipe! Let me know how yours turns out.

Grilled Corn on the Cob with Garlic Herb Butter
Ingredients
Method
- Husk the corn and remove any silk, rinsing them under cool water.
- Soak the corn in a bowl of cold water for about 20 minutes.
- In a mixing bowl, combine the softened butter with the minced garlic, chopped parsley, and chives. Stir until well incorporated. Add salt and pepper to taste.
- Drain and pat the corn dry. Preheat your grill to medium-high heat.
- Place the corn on the grill, turning every few minutes until you achieve char marks and the kernels are tender, about 10-15 minutes.
- Brush the garlic herb butter over the corn in the last few minutes of grilling.
- Remove the corn from the grill and let it cool slightly before serving.


