Indulge in a High Protein Cottage Cheese Cheesecake
There’s something truly special about a creamy cheesecake that transports you back to family gatherings and heartwarming holidays. The luxurious texture, combined with a hint of sweetness, makes every bite a delightful experience. Today, I want to share with you a twist on the classic indulgence—a high protein cottage cheese cheesecake. This version not only satisfies your sweet tooth but also packs a nutritious punch that makes it a great dessert choice any time of the year. You may also find Creamy High Protein Cottage Cheese Giardiniera Dip Delight useful.
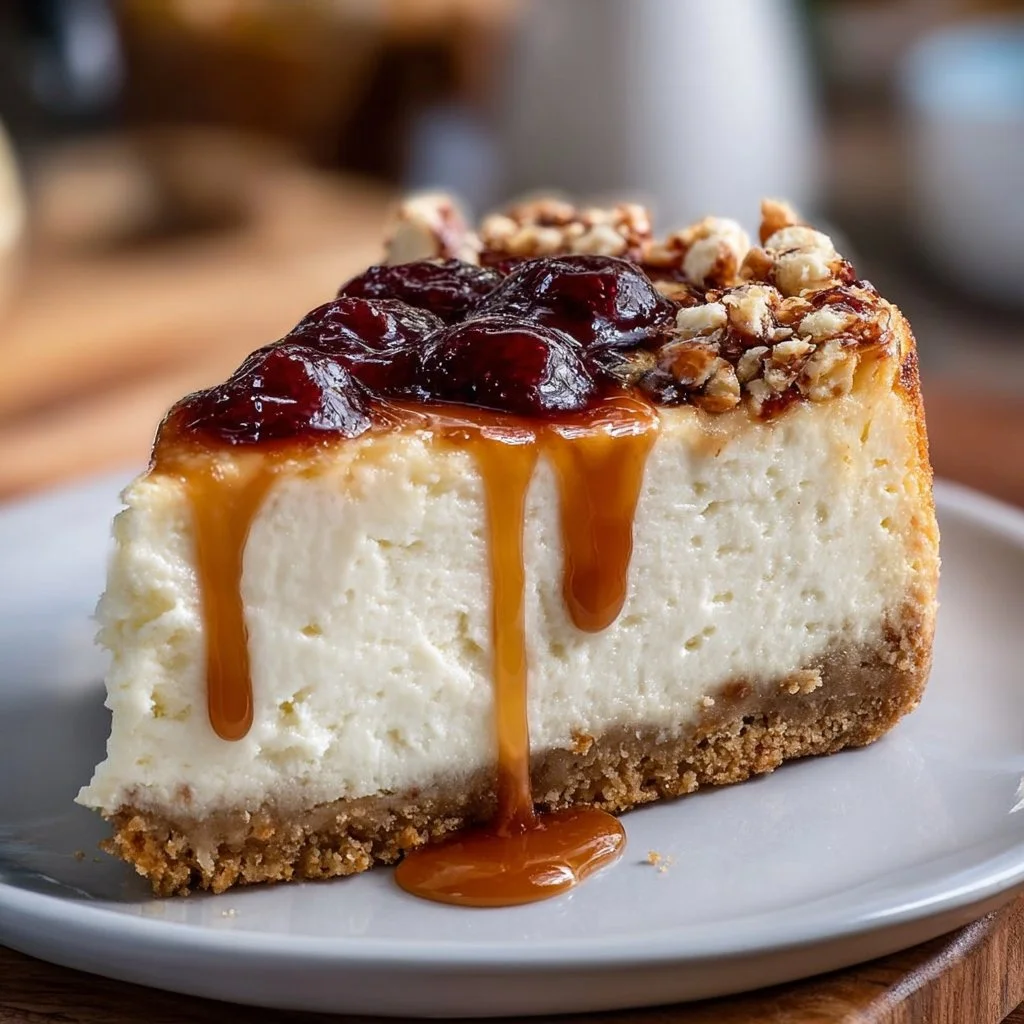
What Makes This Recipe Special
This high protein cottage cheese cheesecake is not just about being delicious; it’s about being nutritious, too. By using cottage cheese, we’re boosting the protein content without compromising on taste. The subtle creaminess complements the sweetness of the added flavors, creating a rich dessert that won’t leave you feeling guilty. Plus, it’s a wonderful time-saver; no complicated methods or bake times. You’ll have a delightful cheesecake ready to impress in no time! You may also find Baked Cottage Cheese Eggs A Delicious Protein Packed Breakfast useful.
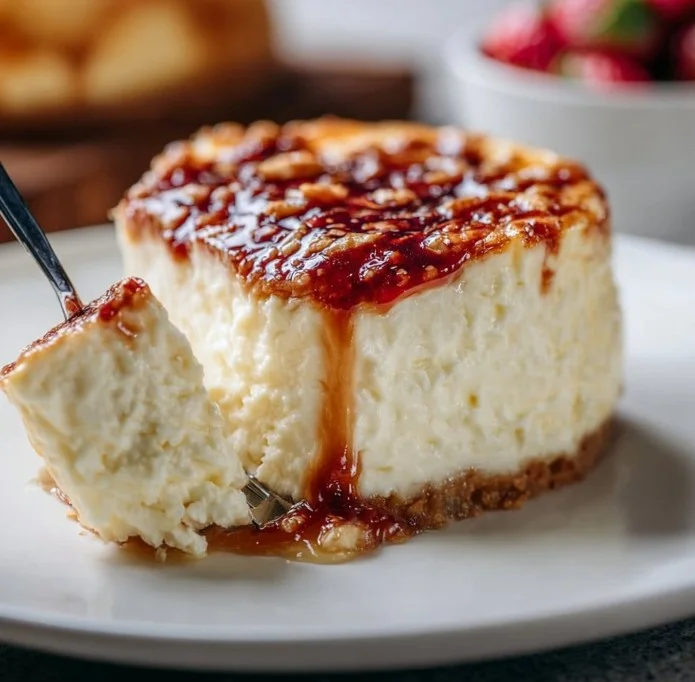
Ingredients
- 2 cups cottage cheese (preferably full fat)
- 1/2 cup Greek yogurt
- 1/3 cup honey or maple syrup
- 3 large eggs
- 1 teaspoon vanilla extract
- 1/4 teaspoon salt
- 1 teaspoon lemon juice
- 1 cup almond flour (for the crust)
- 3 tablespoons melted coconut oil (for the crust)
- Optional: Fresh fruit or berry toppings for garnish
Instructions
To start, preheat your oven to 350°F (175°C). Then, in a mixing bowl, blend together the cottage cheese, Greek yogurt, honey or maple syrup, eggs, vanilla extract, salt, and lemon juice until the mixture is smooth. You can use an immersion blender or a food processor for this step, ensuring no lumps remain.
While the filling is being prepared, it’s time to make the crust. In another bowl, combine the almond flour and melted coconut oil. Mix until it resembles a crumbly texture. Press this mixture into the bottom of a greased springform pan for a solid foundation for your cheesecake.
Now, pour the creamy filling into the prepared crust. Smooth the top gently to ensure an even bake. Bake in the preheated oven for about 30-35 minutes. You’ll know it’s done when the edges are set and the center has a slight jiggle. Remove from the oven and allow it to cool at room temperature for a bit before refrigerating for at least three hours—or preferably overnight—to truly set.
Serving Suggestions
Serving this cheesecake can be a delightful experience! Cut slices and serve them plain, or top with fresh fruits like strawberries, blueberries, or a dollop of whipped cream for an extra flair. Pairing it with a rich coffee or tea can also elevate the dessert experience, making it perfect for an afternoon treat or after a nice dinner.
Tips or Variations
Feel free to experiment with different flavors! You could add cocoa powder for a chocolate version, or citrus zest to brighten the flavors further. If you prefer a plant-based option, substitute eggs with flax eggs and yogurt with a dairy-free alternative. Prep shortcuts could include using pre-made graham cracker crusts if you’re short on time.
Q&A Section
Q: Can I use low-fat cottage cheese?
A: Yes, low-fat cottage cheese works as well, though the texture might be slightly less creamy.
Q: How can I store leftovers?
A: Keep any leftovers covered in the refrigerator for up to 5 days.
Q: Can I freeze this cheesecake?
A: Yes, you can freeze it! Just make sure to wrap it tightly in plastic wrap and store it in an airtight container.
Q: Is this recipe suitable for meal prep?
A: Absolutely! This cheesecake makes for a great meal prep dessert that can be enjoyed throughout the week.
Behind The Scenes
When developing this recipe, I played around quite a bit with the texture and flavor balance. The first few attempts didn’t have the creamy richness I was aiming for, but after adding in the Greek yogurt, my cheesecake dreams came true! It’s always a joy to see how simple adjustments can transform a dish.
Final Thoughts and Serving Ideas
This high protein cottage cheese cheesecake is perfect for those moments when you want a sweet treat that doesn’t derail your healthy eating goals. It’s great for summer picnics or as a post-workout snack packed with protein. Whether enjoyed alone or shared with friends, it promises to be a delightful addition to any table.
Conclusion
If you’re looking for more delicious options that embrace the delightful flavors of cottage cheese, check out this High Protein Cottage Cheese Cheesecake or try the Easy Cottage Cheese Cheesecake Recipe for a quick and satisfying treat. Can’t wait for you to try it!

High Protein Cottage Cheese Cheesecake
Ingredients
Method
- Preheat your oven to 350°F (175°C).
- In a mixing bowl, blend together the cottage cheese, Greek yogurt, honey or maple syrup, eggs, vanilla extract, salt, and lemon juice until smooth using an immersion blender or food processor.
- In another bowl, combine the almond flour and melted coconut oil, mixing until it resembles a crumbly texture.
- Press the crust mixture into the bottom of a greased springform pan.
- Pour the creamy filling into the prepared crust and smooth the top.
- Bake in the preheated oven for about 30-35 minutes, until the edges are set and the center has a slight jiggle.
- Remove from the oven and let it cool at room temperature for a bit before refrigerating for at least three hours or preferably overnight to set.


