Homemade Banana Syrup: A Sweet Trip Down Memory Lane
There’s something utterly nostalgic about the rich, sweet aroma of bananas. It takes me back to those lazy Sunday mornings of my childhood, when my mom would whip up pancakes and the whole house would fill with warmth and comfort. This homemade banana syrup captures that feeling, transforming simple breakfast routines into delightful weekend feasts. If you’ve ever longed for a taste of banana bliss, this syrup is your ticket back to those cherished moments.
What makes this recipe special? It’s the harmonious blend of bananas and sugar that creates a velvety smooth texture, alongside a hint of cinnamon that adds warmth. Plus, it’s effortless! With just a few ripe bananas, you can whip up this syrup in no time, elevating your breakfasts effortlessly.
Ingredients
- 2 ripe bananas, mashed
- 1 cup brown sugar (or coconut sugar for a healthier twist)
- 1 cup water
- 1 teaspoon vanilla extract
- 1/2 teaspoon ground cinnamon (optional)
- Pinch of salt
Instructions
Let’s dive into this simple yet rewarding process! Begin by mashing the ripe bananas in a bowl until they’re mostly smooth. A few lumps are perfectly fine; they add character to your syrup.
In a medium saucepan, combine the mashed bananas, brown sugar, water, and a pinch of salt. Over medium heat, stir everything together until the sugar has dissolved and the mixture begins to simmer. Keep an eye on it—you want to see gentle bubbles emerging on the surface.
After about 5–7 minutes of simmering, add the vanilla extract and cinnamon (if you’re using it). This is where the magic happens; the aroma will make your kitchen feel like a cozy café. Continue to simmer for an additional 10-15 minutes. Stir occasionally until the syrup thickens to your desired consistency. Remember, it will thicken a bit more as it cools.
Once you’re happy with the texture, remove it from the heat and let it cool slightly. You can strain it through a fine-mesh sieve if you prefer a smoother syrup. Otherwise, simply pour it into a clean jar and let it cool entirely before sealing it.
Serving Suggestions
For the Pancake Lovers
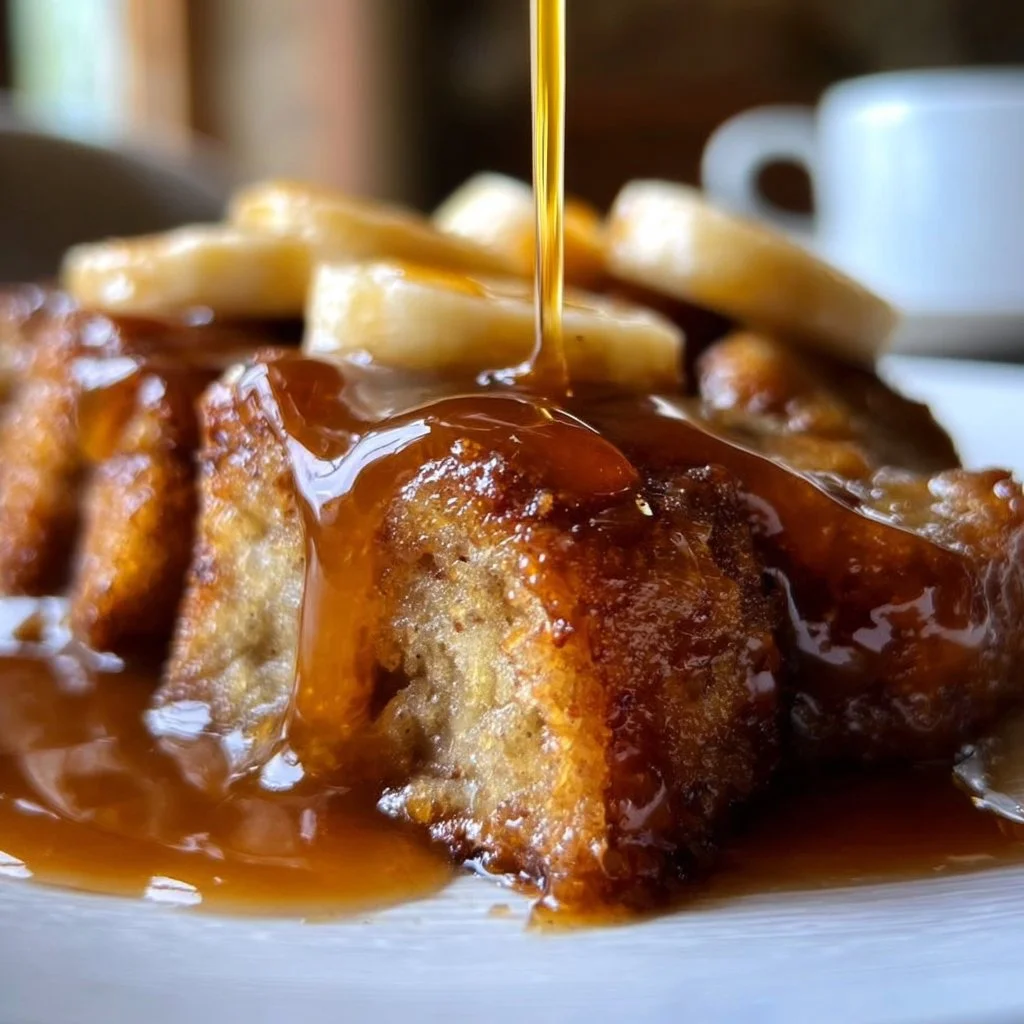
Drizzle this delectable banana syrup over fluffy pancakes or waffles for a brunch that feels extra special. It pairs beautifully with whipped cream and chopped nuts.
For Those Smoothie Bowls
Add a swirl of this syrup to your smoothie bowls. It not only sweetens but also adds a lovely banana flavor that complements fruits like strawberries and blueberries.
For Dessert Enthusiasts
Use it as a topping for vanilla ice cream or yogurt parfaits, allowing each spoonful to transport you to that nostalgic kitchen where the scent of bananas reigned supreme.
Tips and Variations
Feel free to get creative! Try adding a splash of maple syrup for a more profound sweetness or a teaspoon of nutmeg for an extra layer of warmth. If you’re looking to lighten the recipe, substitute coconut sugar for the brown sugar, or use agave syrup for a faster prep. You can also opt for a vegan version by replacing honey with agave and ensuring all your ingredients are plant-based.
Q&A Section
Q: How long can I store this syrup?
A: Typically, you can store homemade banana syrup in the refrigerator for up to two weeks, but you’ll likely finish it long before then!
Q: Can I use frozen bananas?
A: Absolutely! Just thaw them completely and drain excess moisture before mashing.
Q: Is this syrup gluten-free?
A: Yes, it is naturally gluten-free, making it a great option for anyone with dietary restrictions.
Q: Can I can this syrup for longer shelf life?
A: While it’s best fresh, you can try canning it following USDA guidelines for home canning to extend its shelf life—just ensure it’s properly sterilized.
Behind The Scenes
Creating this banana syrup became a delightful experiment in my kitchen. I started off thinking I would keep it super simple but ended up adding cinnamon out of curiosity. That simple twist turned my syrup into an aromatic masterpiece! It was a joy to taste the different variations as I adjusted the sweetness, balancing it perfectly.
Final Thoughts
This homemade banana syrup isn’t just a topping; it’s a testament to the joys of simple ingredients turning into something extraordinarily delicious. Whether you’re brunching with friends or treating yourself to a cozy breakfast in bed, this syrup is sure to bring comfort and smiles.
When it comes to serving suggestions, try pairing this syrup with pancakes on a lazy Sunday or drizzling it over oatmeal for a delightful start to your day. You can also enjoy it in cocktails for a unique twist!
Conclusion
I’m excited for you to discover the joys of this homemade banana syrup! For further inspiration, you might want to check out this banana syrup recipe from Carmy or see how it fits into cocktails with this guide on banana syrup recipes for cocktails.
Can’t wait for you to try it!

Homemade Banana Syrup
Ingredients
Method
- Begin by mashing the ripe bananas in a bowl until they’re mostly smooth. A few lumps are perfectly fine; they add character to your syrup.
- In a medium saucepan, combine the mashed bananas, brown sugar, water, and a pinch of salt.
- Over medium heat, stir everything together until the sugar has dissolved and the mixture begins to simmer. Watch for gentle bubbles on the surface.
- After about 5–7 minutes of simmering, add the vanilla extract and cinnamon (if using). Continue to simmer for an additional 10-15 minutes.
- Stir occasionally until the syrup thickens to your desired consistency. Remember, it will thicken more as it cools.
- Once you’re happy with the texture, remove it from the heat and let it cool slightly.
- You can strain it through a fine-mesh sieve for a smoother syrup or pour it into a clean jar and let it cool entirely before sealing.


