A Slice of Nostalgia: Oreo Cheesecake
There’s something deeply comforting about biting into a slice of Oreo cheesecake. I remember my first experience with this blissful dessert during a family gathering. The creamy, velvety texture paired with the signature chocolate crunch of Oreo cookies instantly transported me back to childhood, where treats like this were reserved for special occasions. If you’re reminiscing about those moments too, this Oreo cheesecake recipe promises to be a delightful journey down memory lane. You may also find Best Oreo Cheesecake Bites useful.
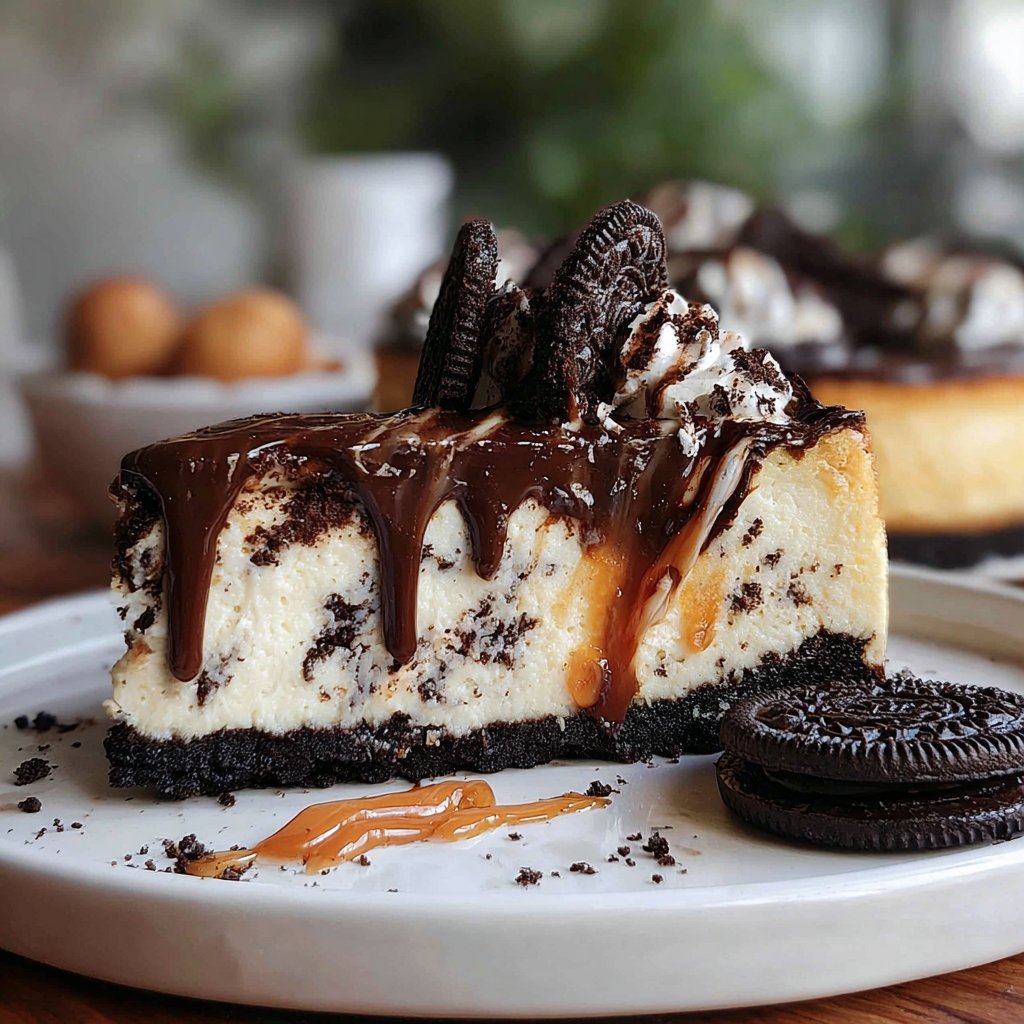
What makes this recipe stand out is not just the mouthwatering combination of cream cheese and Oreos, but also its luxurious texture that’s surprisingly easy to create. This dessert is a real showstopper, perfect for impressing guests or satisfying a sweet craving. Plus, it doesn’t require baking, making it a time-saving wonder that you’ll want to whip up again and again.
Ingredients
- 24 Oreo cookies
- 1/2 cup unsalted butter, melted
- 2 (8 oz) packages cream cheese, softened
- 1 cup powdered sugar
- 1 teaspoon vanilla extract
- 1 cup heavy whipping cream
- Optional: extra Oreos for garnish
Instructions
To get started, finely crush the Oreo cookies in a food processor or a sealed plastic bag. You’ll want those crumbs to be as fine as possible, ensuring a delightful crust. Once crushed, mix the cookie crumbs with melted butter until they’re fully combined. This mixture will form the base of your cheesecake, so it should look like wet sand.
Next, press the crust firmly into the bottom of a 9-inch springform pan to create a solid layer. It’s important to pack it tightly, as this will hold everything together. Once you have that done, place the pan in the refrigerator while you prepare the filling.
In a large mixing bowl, beat the softened cream cheese until it’s smooth and creamy. Gradually add in the powdered sugar and vanilla extract, mixing until well combined. Now it’s time to fold in the heavy whipping cream. Use a spatula to gently mix until you see a light and fluffy consistency. This adds an airy texture to the cheesecake that beautifully contrasts the crunchy crust.
Finally, pour this luscious mixture over your prepared crust, smoothing the top with your spatula. Now for the hard part—let the cheesecake chill in the refrigerator for at least four hours, but overnight is even better. This allows the cake to set properly, making it easier to slice.
Serving Suggestions
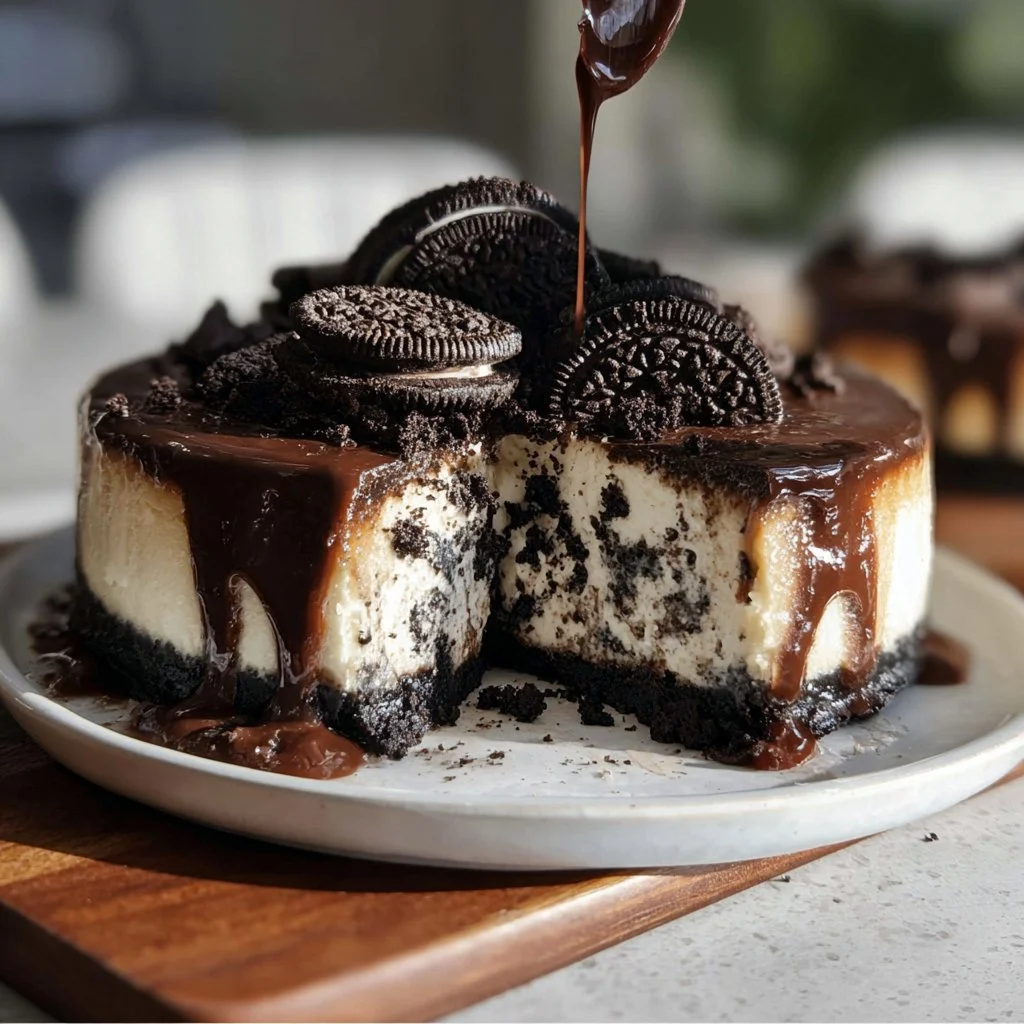
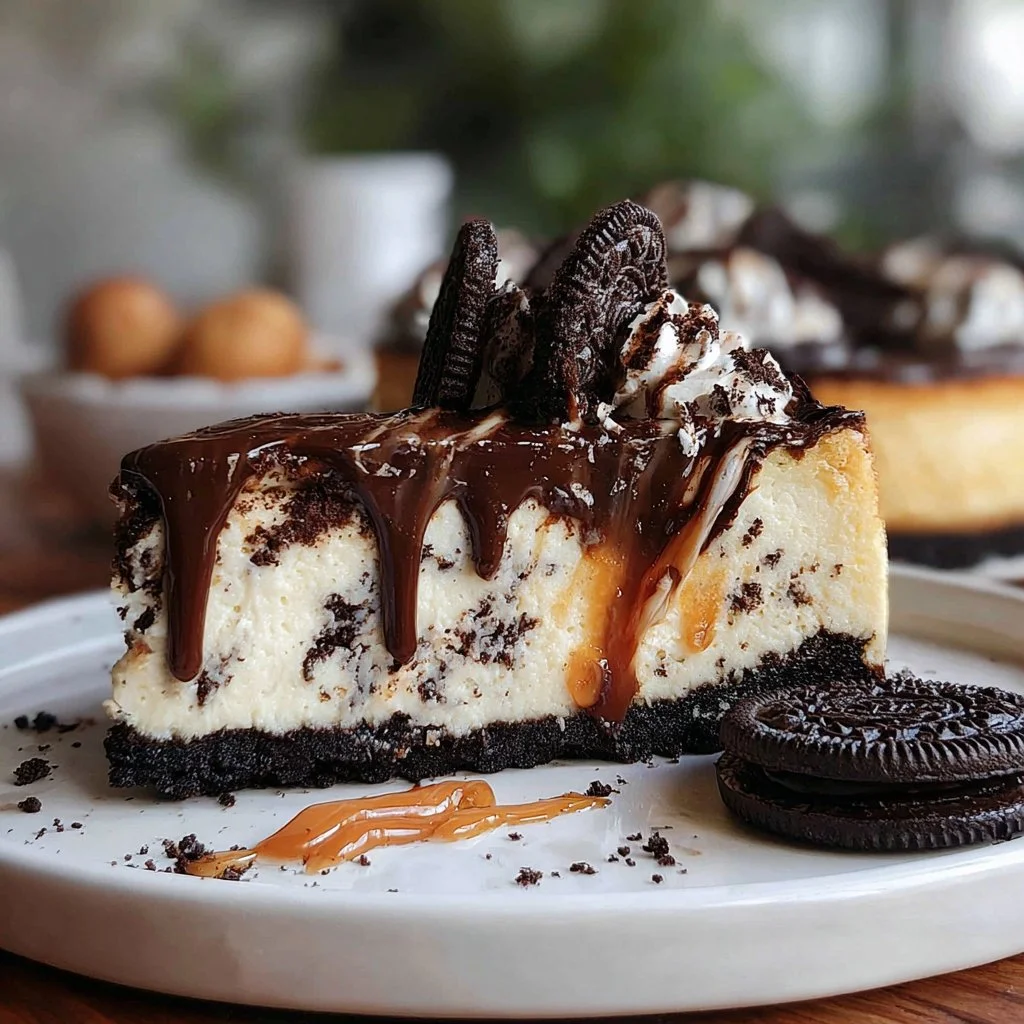
Imagine slicing into your chilled Oreo cheesecake, revealing its creamy layers studded with cookie bits. You can serve it plain or garnish it with additional whipped cream and crushed Oreos on top for an added visual appeal. This cheesecake pairs beautifully with fresh strawberries or a drizzle of chocolate sauce for those who love an extra touch of sweetness. It’s perfect for birthdays, holiday gatherings, or simply as a treat after dinner.
Tips and Variations
There are countless ways to put your spin on this classic dessert. For a different flavor profile, consider adding mint extract for a mint chocolate cheesecake or using peanut butter while mixing the cream cheese to enhance that wonderfully rich flavor. If you’re looking for a healthier option, check out my healthy alternative, which uses Greek yogurt instead of cream cheese for a lighter take. You can also transform this recipe into mini cheesecakes by using muffin tins lined with cupcake liners for individual servings.
Q&A
Can I make this Oreo cheesecake in advance?
Absolutely! This cheesecake is perfect for making ahead of time. Just be sure to keep it covered in the refrigerator until ready to serve.
What if I don’t have a springform pan?
You can use any pie dish or tart pan, but keep in mind that removing the cheesecake for serving may be a bit trickier.
Can I freeze the cheesecake?
Yes, you can freeze the cheesecake! Wrap it tightly in plastic wrap and aluminum foil before freezing it for up to 3 months. Thaw it overnight in the fridge before serving.
How can I tell if the cheesecake is set?
The cheesecake should have a slight jiggle in the center when you move it. If it seems overly wobbly or liquid, give it more chilling time.
Behind the Scenes
In developing this recipe, I encountered a few challenges with the filling consistency—it took a couple of tries to get just the right balance of creaminess and stability. I also decided to leave out gelatin to keep it simple and genuine. The joy of watching it set in the fridge was wholly satisfying, and the result was more than worth it!
Conclusion
Making an Oreo cheesecake is not just about creating a dessert; it’s about capturing memories and enjoying a sweet treat with loved ones. If you’re in the mood for more delicious recipes, you might want to check out the decadent Oreo cheesecake featured on Sugar Spun Run or explore the easy no-bake Oreo cheesecake recipe on Life, Love and Sugar. Each will provide delightful variations that will surely satisfy your cravings. Can’t wait for you to try it!
Oreo Cheesecake
Ingredients
Method
- Finely crush the Oreo cookies in a food processor or a sealed plastic bag until they are as fine as possible.
- Mix the cookie crumbs with melted butter until fully combined to form the crust.
- Press the crust mixture firmly into the bottom of a 9-inch springform pan and pack it tightly.
- Place the pan in the refrigerator while preparing the filling.
- In a large mixing bowl, beat the softened cream cheese until smooth and creamy.
- Gradually add in the powdered sugar and vanilla extract, mixing until well combined.
- Fold in the heavy whipping cream gently until a light and fluffy consistency is achieved.
- Pour the filling over the prepared crust and smooth the top with a spatula.
- Let the cheesecake chill in the refrigerator for at least four hours, preferably overnight.


